Healthy Gluten-Free Date Squares (Easy & Wholesome)
- Total time
- 45 minutes
- Makes
- 16 squares
- Net carbs
- 36g
- Calories
- 285
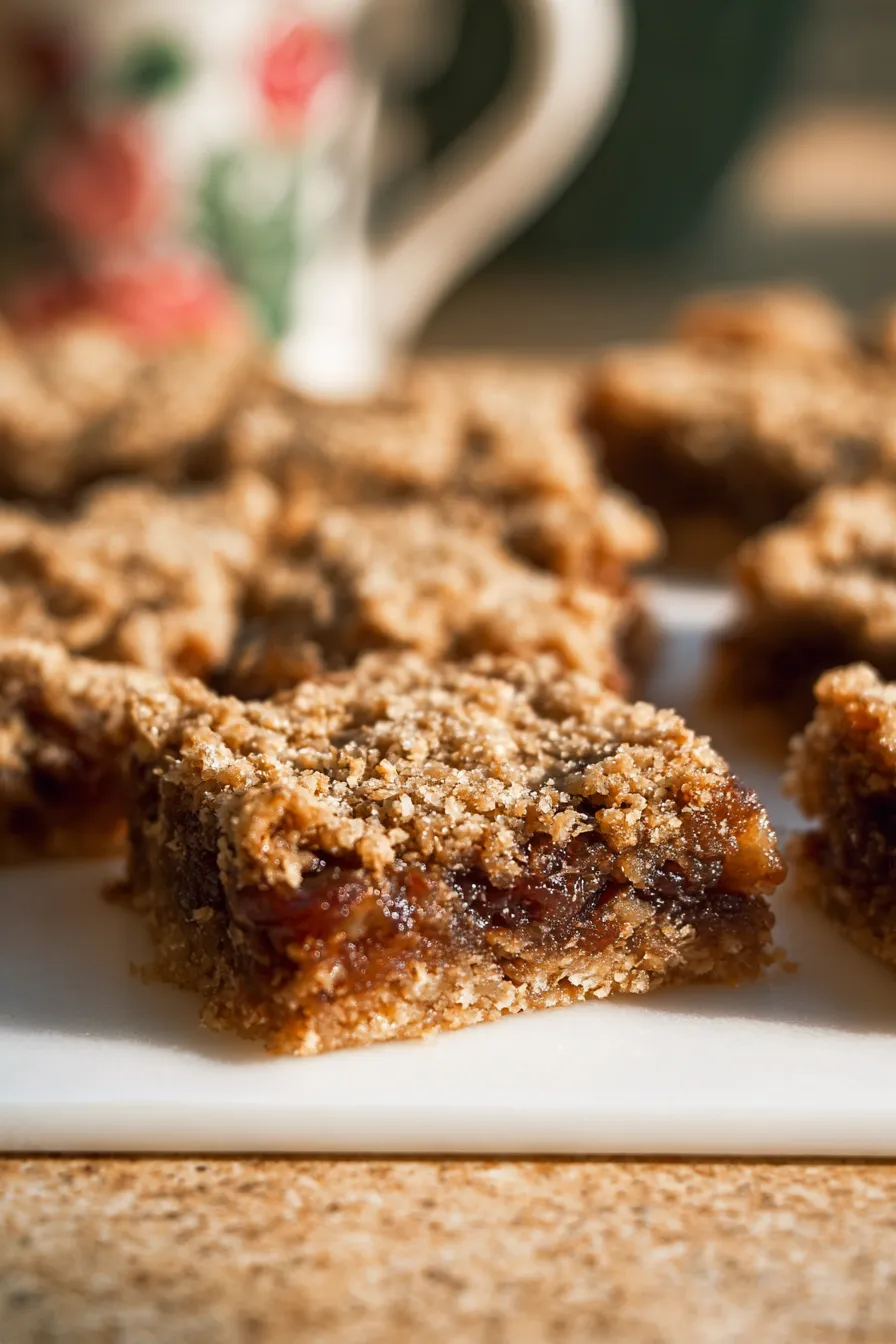
Dates and water. That is the entire filling — two and a half cups of dates cook down into a caramel-thick paste on their own, which is why nothing sweet needs adding to the middle layer.
We are making healthy, gluten-free date squares.
I recently made a huge batch of these for a weekend family get-together. The plate was entirely empty in ten minutes.
Growing up, I always looked forward to my grandmother’s fresh date squares. The sweet, sticky filling. The crisp, crumbly oat topping. It was pure magic.
But as I got older, my diet naturally changed. I needed a recipe that fits a strict gluten-free lifestyle.
The problem? Most gluten-free baking tastes a lot like cardboard.
The solution? We are using wholesome, minimally processed ingredients that actually taste amazing.
Making these is easier than brewing your morning pot of coffee. Seriously. You do not need to be a trained pastry chef to pull this off.
Let’s talk about the sweetness for a second. You will not miss the refined white sugar. At all.
Why? Because the natural sweetness of fresh dates does all the heavy lifting.
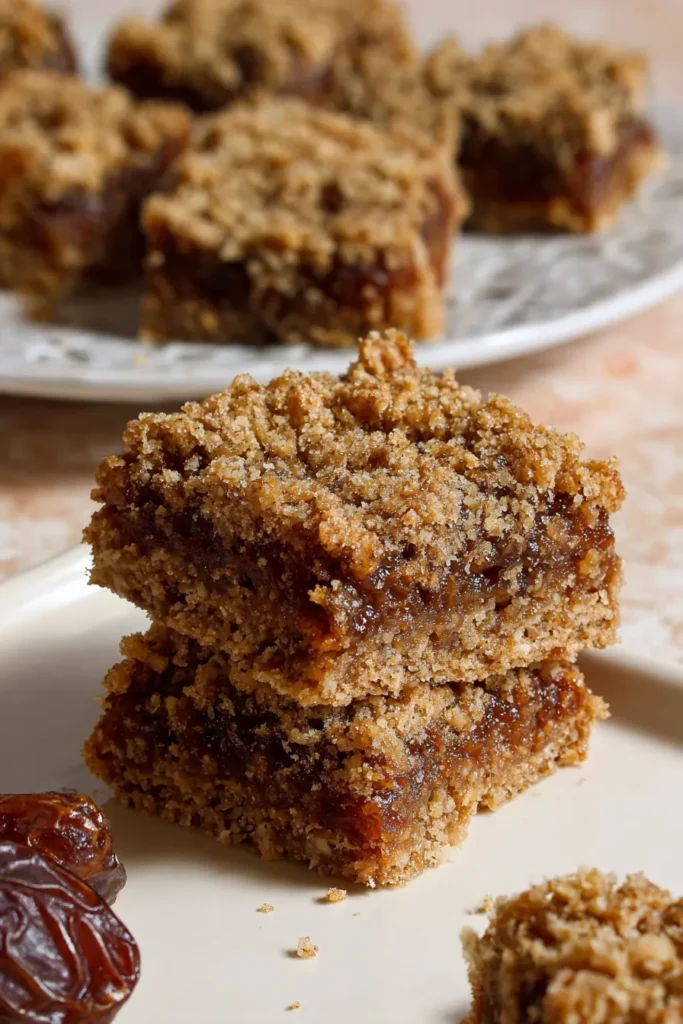
We use a clever mix of almond flour and quinoa flakes for the crust. This creates a wonderful, earthy flavor. The cold-pressed coconut oil gives the base a buttery, satisfying crispness. Pure maple syrup adds a deep, rich sweetness that ties everything together.
I remember the very first time I tried swapping regular baking flour for almond flour. I was a little nervous. Would it hold together in the pan? Would it taste right?
The good news? It tasted even better than the original.
Recipe Timing Breakdown
Need to know exactly how long this project takes? Here is a quick breakdown for your planning.
| Phase | Time | Notes |
| Prep Time | 20 minutes | Gathering and measuring ingredients |
| Cook Time | 25 minutes | Active baking time in the oven |
| Total Time | 45 minutes | From start to finished bake |
| Servings | 16 squares | Perfect for sharing with a crowd |
| Difficulty | Easy | Great for total beginners |
The Ingredients You Need
Preparation is the secret to good baking. Gathering your ingredients first makes everything stress-free.
I highly recommend using a digital kitchen scale if you have one. It makes a huge difference with gluten-free baking.
Here is exactly what you need to grab from your pantry.
| Ingredient | Quantity | Notes |
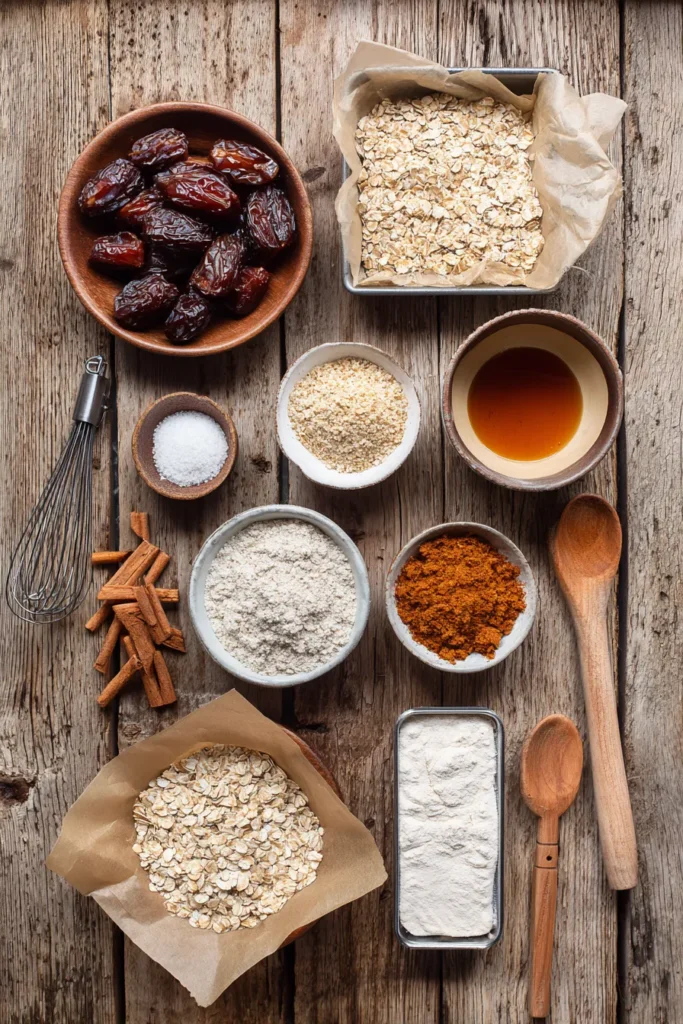
| Pitted dates | 2 1/2 cups (365 g) | Fresh medjool or dried, chopped |
| Water | 1 1/2 cups (360 ml) | Filtered water works best |
| Old-fashioned rolled oats | 1 1/2 cups (160 g) | Ensure they are certified gluten-free |
| Quinoa flakes | 1 1/2 cups (140 g) | Adds a lovely nutty crunch |
| Fine blanched almond flour | 1 cup (104 g) | Keeps the crust tender |
| Coconut sugar | 1/4 cup (50 g) | Adds a subtle caramel flavor |
| Ground cinnamon | 1/2 teaspoon | Warm spice enhances the sweetness |
| Fine sea salt | 1/2 teaspoon | Balances the rich flavors |
| Natural almond butter | 1/2 cup (135 g) | Creamy texture, stir well before using |
| Maple syrup | 1/2 cup (120 ml) | Pure maple syrup only |
| Virgin coconut oil | 1/4 cup (60 g) | Cold-pressed, melts into the crust |
Step-by-Step Baking Method
Now for the fun part. Let’s get baking.
Baking should always be relaxing. Put on some background music. Grab your favorite apron.
Make the Date Filling
First, we need to tackle the date filling.
Grab your chopped dates and your water. Put them both into a small, sturdy saucepan. Turn your stove burner to medium heat.
Bring the water to a gentle boil.
Once you see steady bubbles, turn the heat down right away. You want a very low simmer.
Let the dates simmer slowly on the stove. This takes about eight minutes. They will soak up the water. Your kitchen will start to smell amazing.
Take a standard dining fork. Mash the soft dates gently against the bottom of the pan.
This helps them absorb any left-over liquid. You are looking for a thick, sticky paste.
Leave a few small chunks of dates in there. It adds a really great rustic texture to the final dessert.
Take the saucepan off the hot burner. Set it aside to cool slightly.
Next up? The crumb base and topping.
Mix the Oat Base
Get your largest mixing bowl out of the cupboard.
Add the rolled oats and the quinoa flakes. Whisk them together briefly.
Add the fine almond flour and the coconut sugar to the bowl.
Sprinkle in the ground cinnamon and the fine sea salt.
Toss everything together until it is mixed very well. You want the spices distributed evenly.
Now, grab a small microwave-safe bowl. We need to mix our wet ingredients.
Add the almond butter and the pure maple syrup. Scoop in the coconut oil.
Microwave this mixture in short, thirty-second bursts.
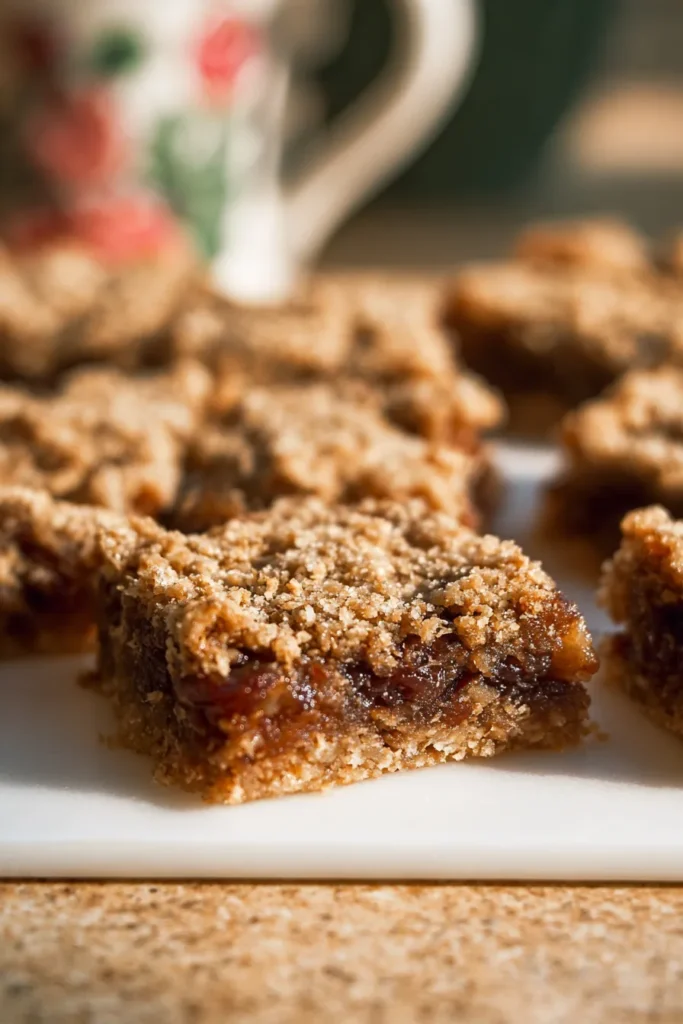
Stir it very well between each burst. You want it completely smooth. It should be slightly runny.
If you do not like using a microwave, that is totally fine. You can easily melt these together in a small pot on the stove.
Pour this warm, wet mixture straight over your dry ingredients.
Use a large spatula. Fold everything together carefully.
Make sure every single oat flake gets coated. The mixture should feel sticky and perfectly crumbly.
Now, preheat your oven. Set it to 350 degrees Fahrenheit.
Line a 9-inch square baking pan with a sheet of parchment paper.
Leave some extra paper hanging over the edges of the pan.
Why? Because this acts like a sling. It makes lifting the baked squares out so much easier later on.
Press slightly more than half of your crumb mixture into the bottom of the pan.
Use your hands to press it down. Or use the flat bottom of a measuring cup.
Pack this bottom layer firmly. Make it nice and even.
Take your warm date filling. Spread it carefully over the oat base.
Use a spatula to smooth it out. Push the sticky filling right into the corners of the pan.
Finally, sprinkle the rest of the oat crumb mixture directly on top.
Press it down very lightly with your fingers.
You want the topping to stick to the dates. You do not want it to sink deep into the filling.
Put the pan onto the center rack of your preheated oven.
Bake for twenty-three to twenty-eight minutes.
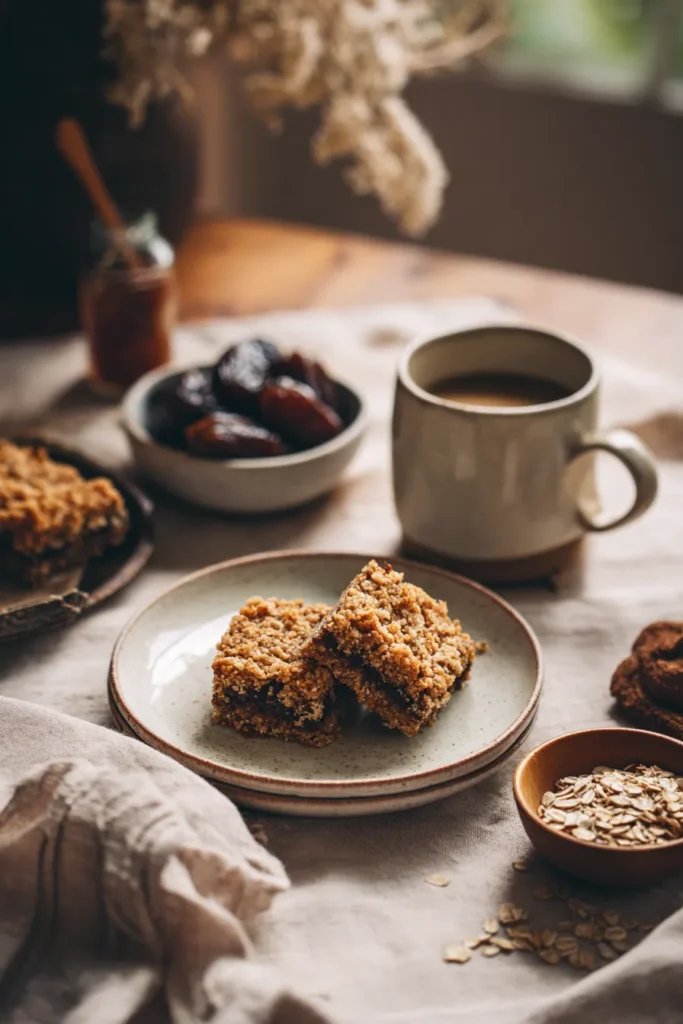
Keep a close eye on it toward the end. The top crumble should look perfectly golden brown and crispy.
Take the pan out of the oven. Let it cool completely on a wire rack.
Quick Baking Tips for Success
Because anytime someone loves a baking recipe, chances are they will bake it again. Here are a few quick tips to guarantee your squares turn out perfectly every single time:
- Toast your quinoa flakes in a dry skillet before mixing them. It brings out a wonderful, deep nutty flavor.
- Always check your oat labels carefully. Make sure they clearly say certified gluten-free to avoid cross-contamination.
- Do not overcook the dates on the stove. If you boil them too long, they turn to mush and lose their texture.
- Warm up your almond butter if it feels too stiff in the jar. It mixes into the other wet ingredients much easier that way.
Serving and Storage Advice
I know it is very tempting to dig in immediately. Your kitchen smells warm and comforting right now.
But you really have to wait.
You must let the squares cool completely in the pan. This allows the delicate layers to set.
If you cut them while they are hot, they will fall apart. The date filling needs time to firm up as it cools down.
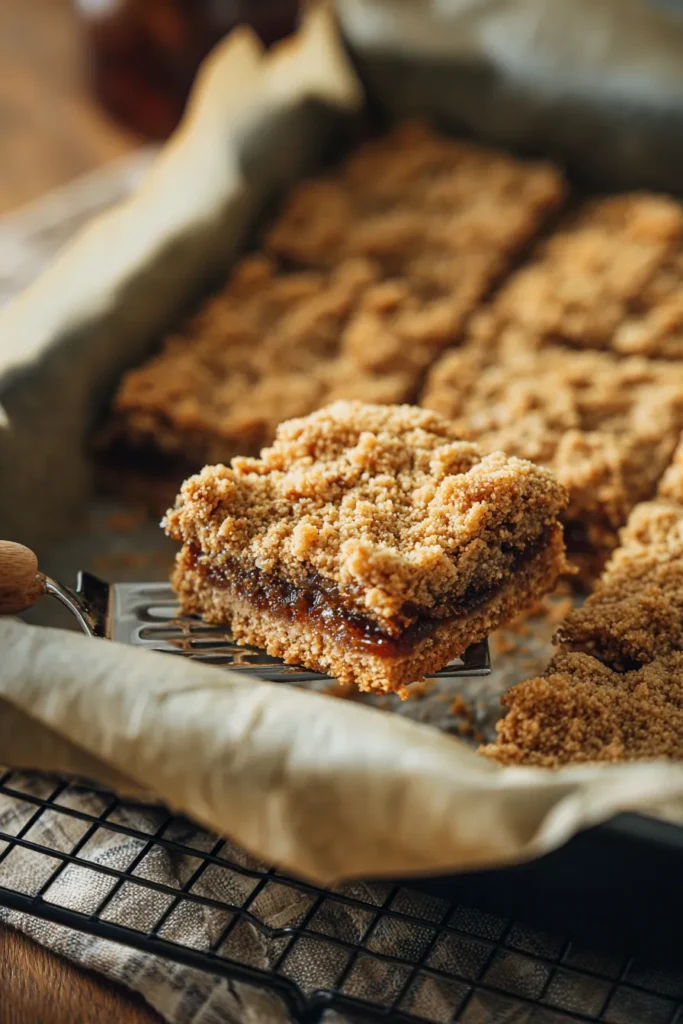
Once they are totally cool, grab those parchment paper edges. Lift the whole block straight out of the pan.
Place the block on a sturdy cutting board. Use a large, sharp chef’s knife. Slice it down into sixteen even squares.
Quick trick: Wipe your knife blade with a damp cloth between cuts. This simple step keeps the edges of your squares looking incredibly neat and professional.
These healthy date squares are absolutely perfect for Sunday meal prep.
Store them in an airtight container sitting at room temperature. They will stay fresh and crispy for about three days.
I actually prefer eating them cold. I always keep my batch stored in the fridge.
The chilled temperature makes the date filling perfectly chewy. They will easily last about a full week in the refrigerator.
Want to save some for later in the month? You can definitely freeze them.
They keep very well in the freezer for up to three months.
Just put small pieces of wax or parchment paper between the squares. This stops them from freezing together into a giant clump. Let a frozen square sit on the counter at room temperature for an hour before eating.
Frequently Asked Questions
Let’s cover a few common questions I get about this recipe.
Can I use dried dates instead of fresh medjool dates?
Yes, you definitely can. Regular dried dates work perfectly for this filling. You might just need to simmer them for a few extra minutes on the stove. This extra time makes sure they get soft enough to mash properly.
What if I cannot find quinoa flakes at my local store?
They can be pretty hard to find sometimes. Do not worry about it. You can easily substitute them. Just use an equal weight of extra rolled oats. Buckwheat flakes work great too. Just make sure you measure the substitute by exact weight, not volume.
Is it possible to use a completely different nut butter?
Absolutely. Natural peanut butter is a great alternative. Creamy cashew butter works beautifully in the crust as well. If you have a strict nut allergy in the house, sunflower seed butter is a fantastic choice. Just keep in mind that the final flavor profile will change slightly based on what you choose.
How do I stop the sweet date filling from burning to the pan?
Keep your stove heat very low while they simmer. Stir the mixture often. Use a sturdy wooden spoon to scrape the bottom. If the pan gets way too dry before the dates soften, just add a tiny splash of extra water.
Can I bake this recipe in a smaller 8-inch square pan?
Yes, you certainly can. Your date squares will just end up being taller and thicker. Because they are thicker, you will likely need to bake them for about five extra minutes. Just watch the oven closely. You do not want the oat topping to burn while the center bakes.
Healthy Date Squares (Gluten-Free)
Ingredients
Date Filling
- 2 1/2 cups pitted dates fresh medjool or dried, chopped
- 1 1/2 cups water filtered preferred
Crumb Base and Topping
- 1 1/2 cups old-fashioned rolled oats certified gluten-free
- 1 1/2 cups quinoa flakes
- 1 cup fine blanched almond flour
- 1/4 cup coconut sugar
- 1/2 tsp ground cinnamon
- 1/2 tsp fine sea salt
- 1/2 cup natural almond butter stir well
- 1/2 cup maple syrup pure
- 1/4 cup virgin coconut oil cold-pressed
Instructions
- Preheat oven to 350°F. Line a 9-inch square pan with parchment paper, leaving an overhang.
- Combine dates and water in a saucepan over medium heat. Bring to a boil, then reduce to a low simmer for 8 minutes.
- Mash dates with a fork to form a thick, sticky paste. Remove from heat and set aside.
- In a large bowl, whisk together oats, quinoa flakes, almond flour, coconut sugar, cinnamon, and salt.
- In a small bowl, melt together almond butter, maple syrup, and coconut oil using 30-second microwave bursts. Stir until smooth.
- Pour the wet mixture over the dry ingredients and stir until fully combined and crumbly.
- Press slightly over half of the mixture firmly into the pan. Spread date filling evenly on top. Scatter remaining crumble over the dates and press lightly.
- Bake for 23–28 minutes until golden brown and crispy. Cool completely before cutting into 16 squares.
Notes
Keep cooking