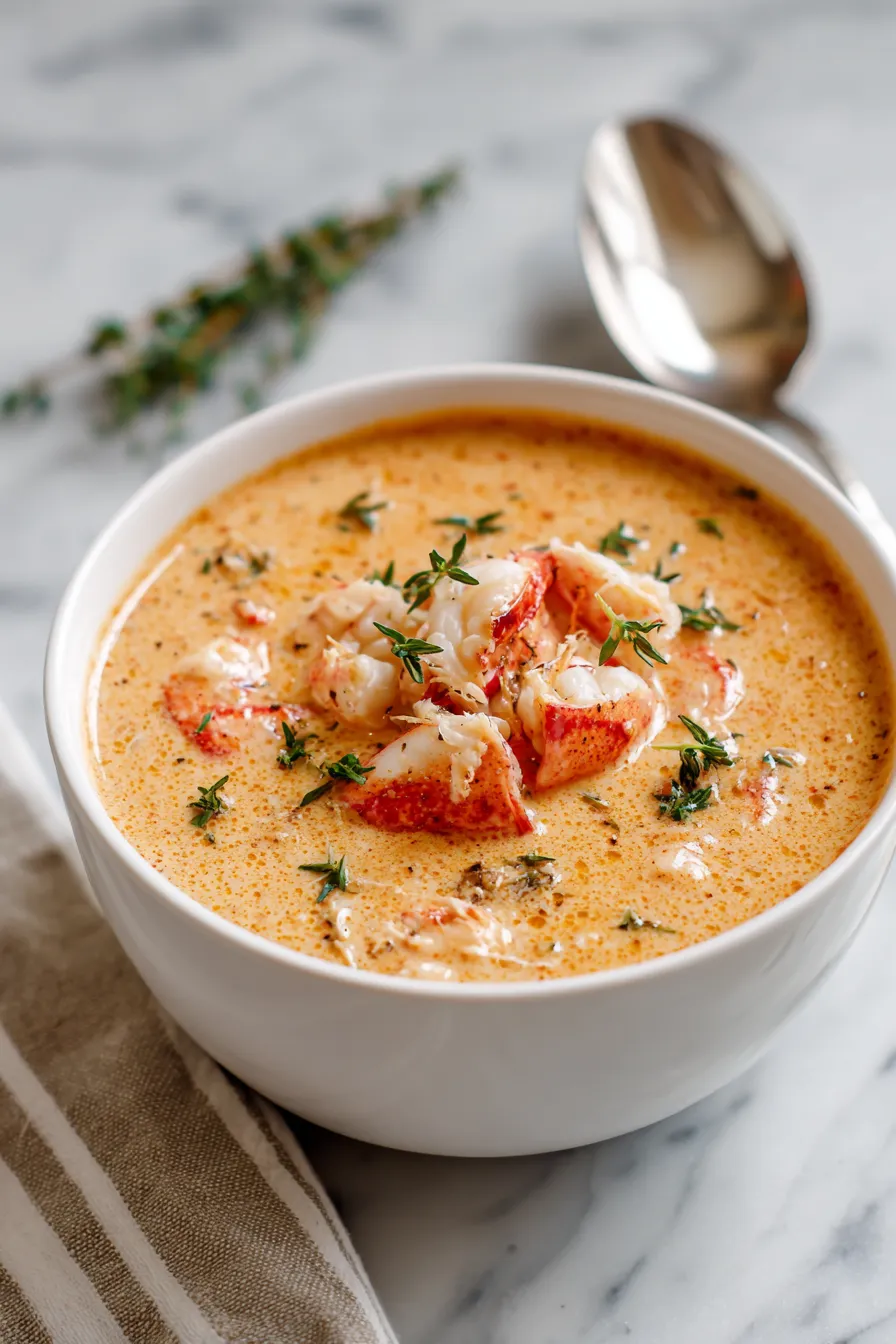
Dairy-Free Lobster Bisque with Coconut Milk
- Total time
- 1 hour 5 minutes
- Makes
- 4
- Net carbs
- 0g
Why This Bisque Works
This dairy-free lobster bisque gets its depth from real lobster shells, homemade lobster stock, and simple pantry ingredients. I used to think lobster bisque was a restaurant-only thing. You order it on a fancy night out, and you don’t dare ask how many sticks of butter are hiding in that bowl.
Then one day the seafood counter had lobster tails on sale. I couldn’t walk past them. So I brought some home and decided to try making bisque myself.
My first batch used the usual suspects: cream and flour. It was delicious, in the way rich food always is. Good for the first hour. Then a little heavy for the rest of the night.
So I went back to the drawing board. I kept the flavor. I ditched the ingredients that were weighing it down.
Chickpea flour stepped in for the butter roux. Coconut milk took over for the heavy cream. And the result? It still tasted indulgent. But none of that sluggish, too-full feeling afterward.
This bisque gets its depth from real lobster shells, not shortcuts. And it uses basic pantry stuff, so you’re not driving to three stores hunting down some obscure ingredient.
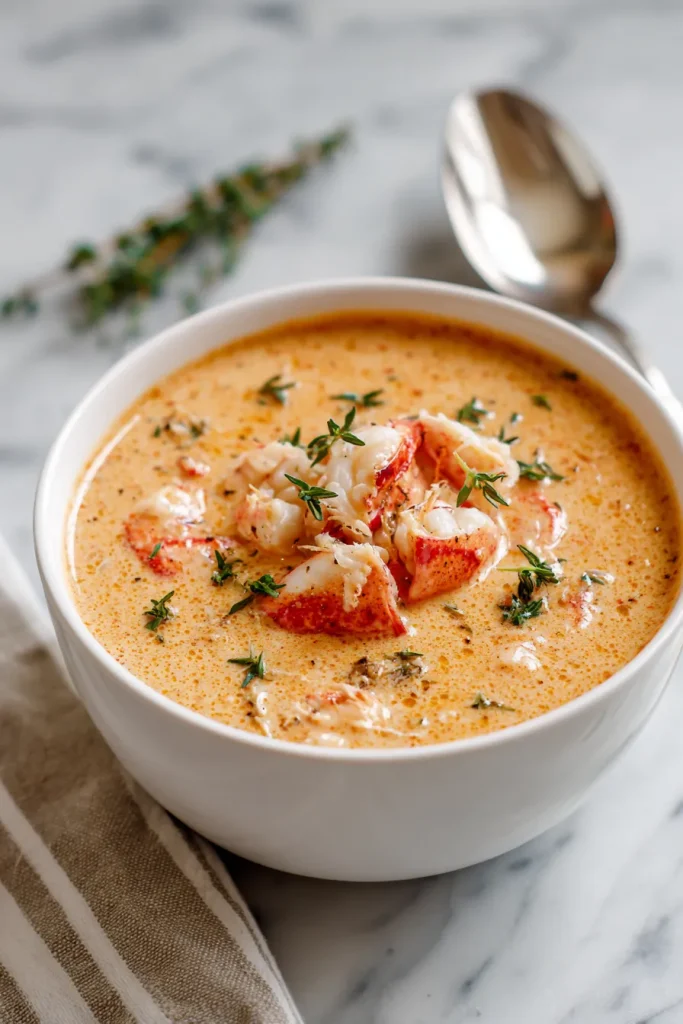
Why you’ll want to make this:
- It tastes rich and creamy without a drop of dairy cream
- The lobster shells pull double duty, building you a free homemade stock
- Chickpea flour keeps it thick and smooth, and it’s gluten-free
- One pot plus a blender. That’s it. Cleanup stays easy
- You control the heat with the hot sauce
What Goes Into It
A few ingredients here need a quick word before you start cooking.
Chickpea flour thickens the broth just like a regular flour roux would. But it’s got a slightly nutty flavor, and no gluten.
Full-fat coconut milk gives you that silky texture, standing in for heavy cream. Don’t worry, once it’s blended in, it doesn’t taste like coconut.
And the lobster stock? You’re not buying that anywhere. You’re making it yourself, from the boiling water and the leftover shells. Every drop of lobster flavor ends up in your bowl. None of it goes in the trash.
| Ingredient | Quantity | Notes |
|---|---|---|
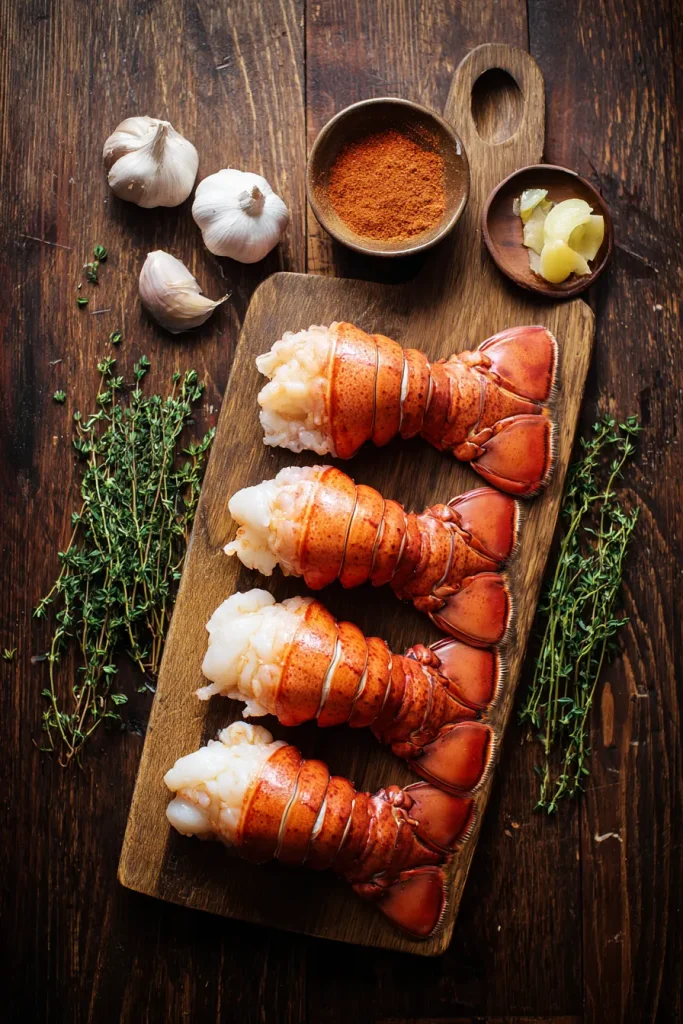
| Lobster tails, in shells | 4 | Fresh or thawed frozen tails both work |
| Olive oil | 1 tablespoon | For sautéing the aromatics |
| Shallots, chopped | 2 | Milder and sweeter than regular onion |
| Yellow onion, diced | 1 small | Adds savory depth to the base |
| Garlic, minced | 4 cloves | Fresh cloves give the best flavor |
| Chickpea flour | 3 tablespoons, plus more as needed | Thickens the bisque without gluten |
| Low sodium chicken broth | 2 cups, divided | Used in two stages for the base |
| Hot sauce | 1 teaspoon | Adjust up or down to taste |
| Sea salt | 1½ teaspoons | Season gradually and taste as you go |
| Ground black pepper | ½ teaspoon | Freshly ground gives the best kick |
| Dried thyme | 1 teaspoon | Brings a warm, herby background note |
| Tomato paste | 2 tablespoons | Adds color and a subtle tang |
| Paprika | 1½ teaspoons | Gives the broth its warm color |
| Reserved lobster stock | 2 cups | Made from the shells, see instructions |
| Full fat coconut milk | 2 cups | Creates the creamy texture without dairy |
How I Actually Make It
Bisque sounds fancy. Intimidating, even. But break it into stages and it’s really just three things: boiling, sautéing, and blending. Done in an order that stacks up the flavor as you go.
Step 1: Cook the lobster tails.
Fill a large pot about halfway with water. Bring it to a rolling boil. Drop in the lobster tails and let them cook for 8 to 10 minutes. You’ll know they’re done when the shells turn bright red and the meat looks opaque, not translucent.
Step 2: Cool and remove the meat.
Lift the tails out and set them aside to cool. Don’t dump that water. It’s about to become your stock. Once the tails are cool enough to touch, cut through the shells with kitchen shears and pull the meat out. Budget 10 to 15 minutes for that cooling, and use it to chop your shallots, onion, and garlic. It runs alongside your prep, which is why it is not added on top of the total time.
Step 3: Chop the lobster and build your stock.
Cut the meat into bite-sized pieces. Pop it in the fridge for later. Toss the empty shells back into that pot of reserved water. Let them simmer another 10 minutes. Strain the liquid through a fine mesh strainer, and boom, you’ve got homemade lobster stock.
Step 4: Sauté the aromatics.
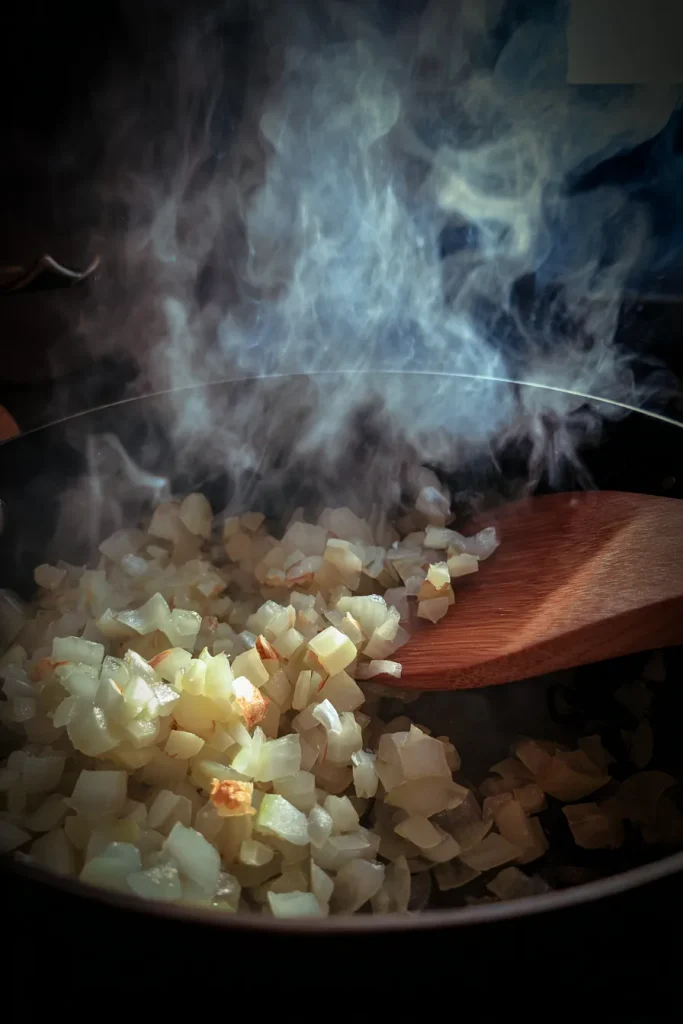
Warm the olive oil in a saucepan over medium-high heat. Add the shallots and onion. Stir occasionally and cook for 5 to 6 minutes, until soft. Stir in the garlic. Cook another minute or two, just until it smells amazing.
Step 5: Build the thickened base.
Sprinkle the chickpea flour over the onion mixture. Stir it in well so everything’s coated. Let it cook about 2 minutes. This gets rid of that raw, floury taste. Slowly pour in a quarter cup of the chicken broth, stirring the whole time so no lumps form.
Step 6: Season and simmer.
Once that’s smooth, stir in the hot sauce, salt, pepper, and thyme. Cook another minute or two, until it thickens into a paste. Slowly add the rest of the chicken broth. Scrape up anything stuck to the bottom of the pan while you’re at it.
Step 7: Add the tomato and stock.
Stir in the paprika, tomato paste, and your reserved lobster stock. Let it all simmer uncovered for about 10 minutes. This is where the flavors really start talking to each other.
Step 8: Blend until smooth.
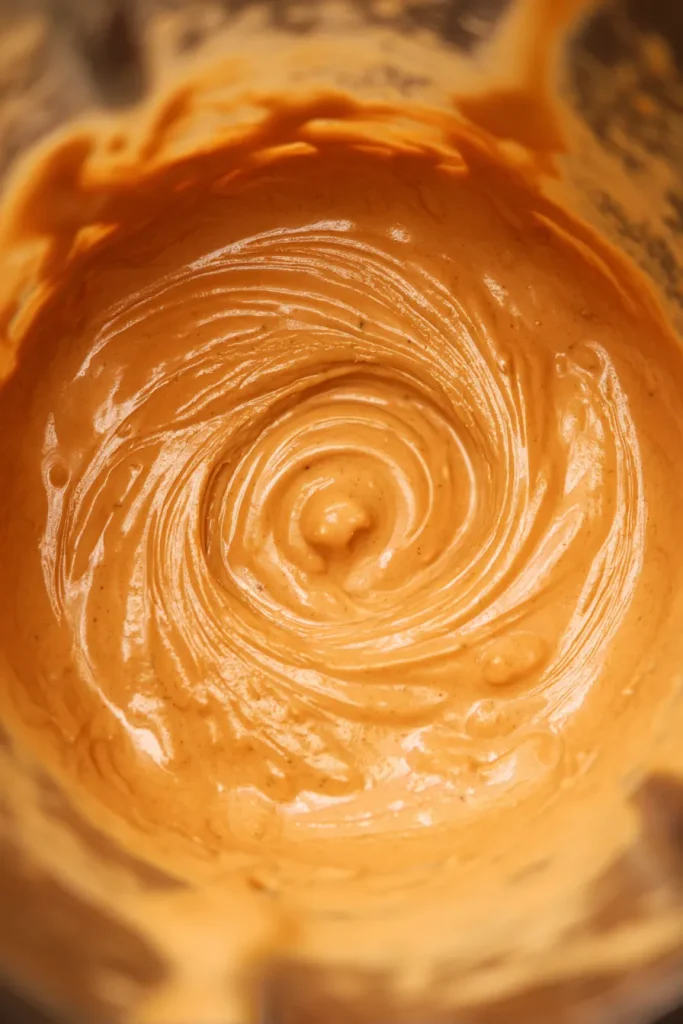
Move the mixture to a blender, or use an immersion blender right there in the pot. Blend until it’s completely smooth. No onion chunks. No garlic bits. Just silky soup.
Step 9: Finish with coconut milk and lobster.
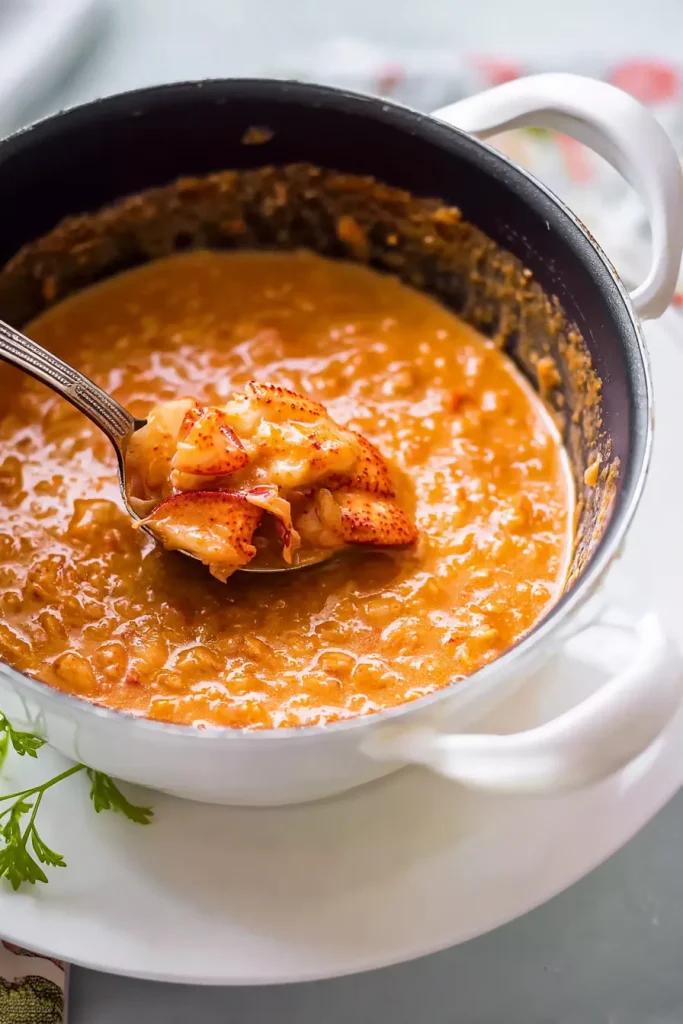
Pour the blended mixture back into the pan. Stir in the coconut milk and your chopped lobster meat. Taste it. Adjust the salt or pepper if it needs it.
Here’s the tip that actually matters: don’t skip returning the shells to the pot. Those shells are still packing flavor. Simmering them turns plain water into something close to a real seafood stock. It costs you ten extra minutes. It costs you nothing at the register.
Serving, Storing, and Your Questions Answered
What Pairs Well With This Bisque
This soup is rich enough to stand on its own. But a few sides make it feel like a full meal.
- A warm, crusty roll for mopping up every last bit of broth
- A simple green salad with a light vinaigrette, to cut through the richness
- A roasted protein like chicken or beef, if you want something heartier
Storing Leftovers
Let the bisque cool all the way before you move it to an airtight container. It’ll keep in the fridge for 3 to 4 days.
Want it to last longer? Freeze it in a freezer-safe container or bag. Leave a little room at the top, since it’ll expand. It’ll hold for up to three months.
When you reheat it, go low and slow. Don’t blast it on high. A gentle reheat keeps the texture from breaking or splitting.
Frequently Asked Questions
Can I use frozen lobster tails instead of fresh? Yes. Frozen tails work just as well. Just thaw them fully in the fridge before boiling, so they cook evenly and don’t turn rubbery.
What if my bisque turns out thinner than I expected? Whisk in a little extra chickpea flour, a teaspoon at a time. Let it simmer a minute or two after each addition before you decide if it needs more.
Can I swap the lobster for a different seafood? Absolutely. Shrimp or crab both work great, especially if lobster’s out of budget or out of stock. Same cooking and shelling process. Just cut down the boiling time a bit for smaller shrimp.
Is there a way to make this even milder in spice? Easy fix: cut back on the hot sauce, or skip it entirely. You can always add a splash at the table for anyone who wants more kick.
Recipe At a Glance
| Detail | Info |
|---|---|
| Prep Time | 20 minutes |
| Cook Time | 45 minutes |
| Total Time | 65 minutes |
| Servings | 4 |
| Difficulty | Easy |
This bisque has become one of those recipes I keep coming back to. Whenever I want something that feels special, without a ton of fuss, this is it.
It’s proof that a lighter version of a classic doesn’t have to skimp on flavor. Honestly? I’d put this up against any bowl I’ve ordered at a restaurant.
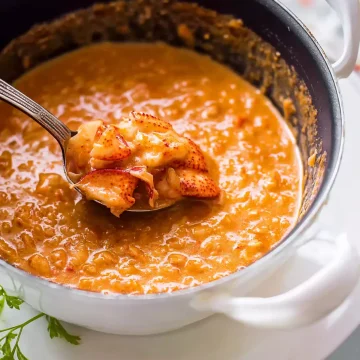
Dairy-Free Lobster Bisque with Coconut Milk
Ingredients
Lobster
- 4 lobster tails, in shells fresh or thawed frozen
Bisque Base
- 1 tbsp olive oil for sautéing
- 2 shallots, chopped
- 1 small yellow onion, diced
- 4 cloves garlic, minced
- 3 tbsp chickpea flour plus more as needed
- 2 cups low sodium chicken broth divided
- 1 tsp hot sauce adjust to taste
- 1 1/2 tsp sea salt adjust to taste
- 1/2 tsp ground black pepper
- 1 tsp dried thyme
- 2 tbsp tomato paste
- 1 1/2 tsp paprika
Stock and Finish
- 2 cups reserved lobster stock made from the lobster shells
- 2 cups full-fat coconut milk
Instructions
- Fill a large pot about halfway with water and bring it to a rolling boil. Add the lobster tails and cook for 8 to 10 minutes, until the shells are bright red and the meat is opaque.
- Remove the lobster tails and let them cool. Reserve the cooking water. Once cool enough to handle, cut through the shells with kitchen shears and remove the meat. Allow about 10 to 15 minutes for cooling and chop the shallots, onion, and garlic while you wait.
- Cut the lobster meat into bite-sized pieces and refrigerate. Return the empty shells to the reserved cooking water and simmer for 10 minutes. Strain through a fine-mesh strainer to make the lobster stock.
- Heat the olive oil in a saucepan over medium-high heat. Add the shallots and onion and cook for 5 to 6 minutes, until softened. Add the garlic and cook for another 1 to 2 minutes.
- Sprinkle the chickpea flour over the onion mixture and stir well. Cook for about 2 minutes. Slowly add 1/4 cup of the chicken broth, stirring continuously to prevent lumps.
- Stir in the hot sauce, sea salt, black pepper, and dried thyme. Cook for 1 to 2 minutes until the mixture thickens. Slowly add the remaining chicken broth, scraping the bottom of the pan.
- Add the paprika, tomato paste, and reserved lobster stock. Simmer uncovered for about 10 minutes to develop the flavors.
- Transfer the mixture to a blender or use an immersion blender in the pot. Blend until completely smooth and silky.
- Return the blended bisque to the pan. Stir in the coconut milk and chopped lobster meat. Taste and adjust the salt, pepper, or hot sauce as needed.
Notes
Keep cooking