I absolutely love comfort food. But let’s be honest. Traditional chicken nuggets are packed with carbs.
They rely on wheat flour. They use sugary sauces.
I wanted to fix that.
I spent weeks testing keto-friendly batters. The results? Most attempts fell apart in the pan. Others lacked that satisfying crunch. I almost gave up.
The good news? I finally found the ultimate coating.
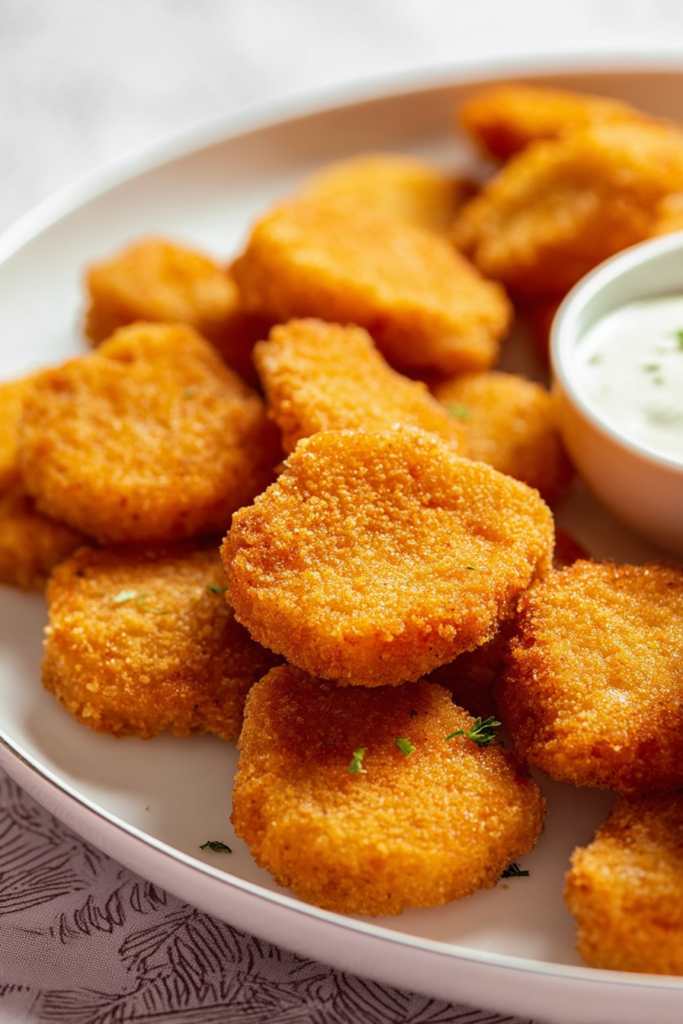
Crushed pork rinds and parmesan cheese. It creates absolute magic.
This blend sticks beautifully to the chicken. It crisps up just like real breadcrumbs. You get that authentic crunch. And you skip the heavy carbohydrates.
These nuggets have exactly one gram of net carbs per serving.
Creating this coating is easier than making a simple salad.
The secret ingredient? Celery salt. It adds a savory depth that mimics fast-food seasoning perfectly.
I sat down at my desk this morning, typing away on my trusty Logitech K380 keyboard, excited to share this with you. These are perfectly balanced. Highly addictive. Your family will beg for them.

Recipe Timing
- Prep Time: 10 minutes
- Cook Time: 15 minutes
- Total Time: 25 minutes
- Servings: 4
- Difficulty: Easy
The Essential Ingredients
We are keeping things simple. You only need seven ingredients. Every item plays a crucial role.
| Ingredient | Quantity | Notes |
|---|---|---|
| Chicken breast | 1 pound |
| Chopped into uniform bite-sized pieces.
|
| Large eggs | 2
| Whisked well for the wet dredging station.
|
| Celery salt | 1 teaspoon
| The secret to authentic fast-food flavor.
|
| Salt | 1 teaspoon
| Use fine sea salt or kosher salt.
|
| Pepper | 1/2 teaspoon
| Freshly ground black pepper is best.
|
| Keto bread crumbs | 1 cup
| Must be crushed pork rinds for ultimate crunch.
|
| Parmesan cheese | 3 tablespoons
| Grated finely to mix evenly with the crumbs.
|
Step-by-Step Cooking Guide
Let’s get cooking.
If you’ve read my posts before, you know I strongly advocate for the mise en place technique. Having everything prepped and in its place is vital. It keeps your workflow smooth.
The Preparation Phase
First, grab your cutting board. Get a sharp knife.
Chop the chicken breast into even, bite-sized pieces. Consistency is very important here. Uniform pieces ensure everything cooks at the exact same rate. Nobody wants a mix of burnt and raw chicken.
Once chopped, grab a few paper towels. Pat the chicken pieces completely dry.
Moisture is the enemy of a crispy crust. If the chicken is wet, the breading simply slides off.
Next, prepare your bowls.
In the first bowl, combine:
- The whisked eggs
- Celery salt
- Salt
- Pepper
Mix them until fully combined. This savory egg wash is the glue for our crust.
In your second bowl, mix the crushed pork rinds and parmesan cheese. Toss them lightly until evenly distributed.
Coating the Chicken
Take a handful of dry chicken pieces. Drop them into the savory egg wash. Ensure every single piece is thoroughly coated.
Let the excess egg drip off for a second.
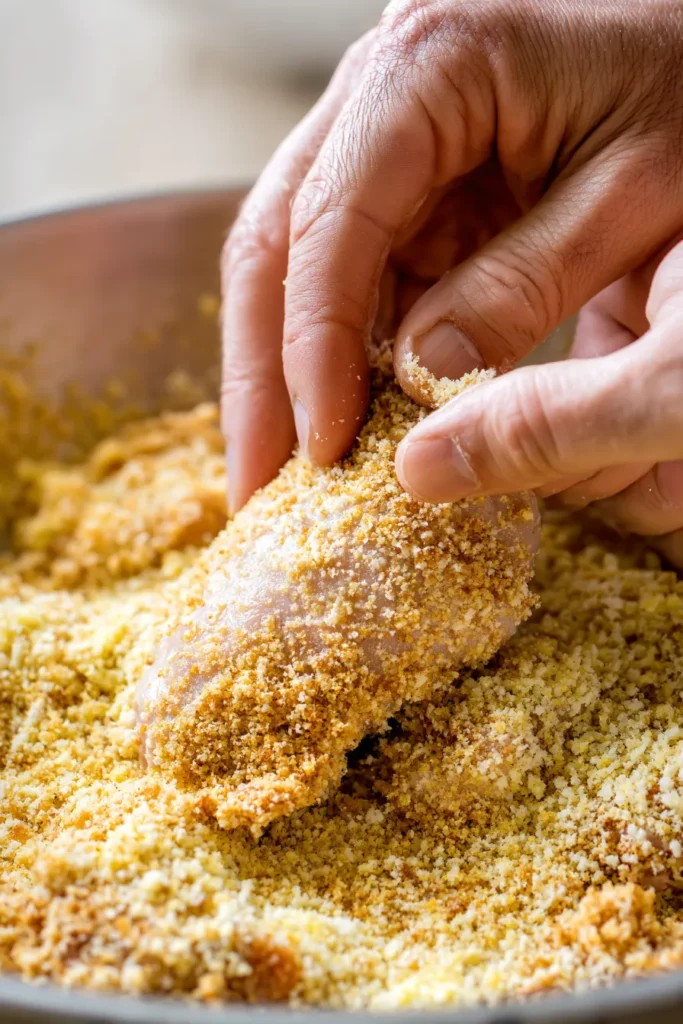
Next, transfer the chicken to the dry bowl. Toss the pieces around in the pork rind mixture.
Press the crumbs firmly into the meat. You want a thick, solid layer of breading. This pressing action guarantees a glorious crunch later.
Cooking Methods
I prefer baking these. It keeps things hands-off and clean. Plus, the whole recipe takes just 25 minutes. I love quick-preparation meals that get you out of the kitchen fast.
Preheat your oven to 400°F. Line a large baking tray with parchment paper. Place a wire rack directly on top of the paper.
Arrange the breaded chicken on the wire rack. Leave plenty of space between each piece.
Overcrowding? It traps steam. It ruins your crispy texture.
Bake for 15 minutes until golden and sizzling.
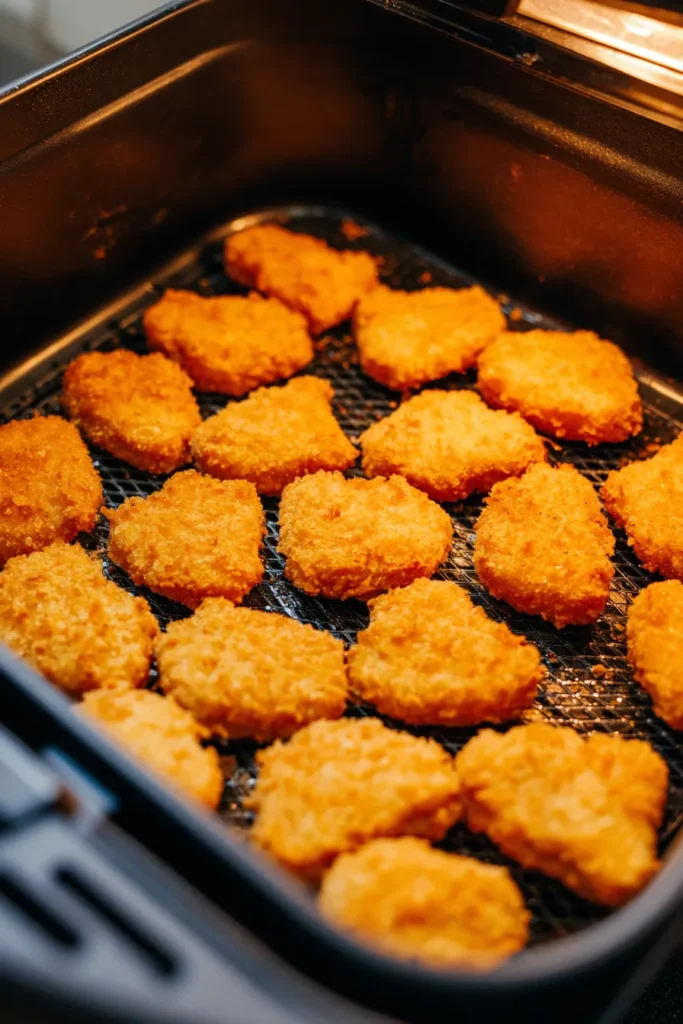
If you prefer an air fryer, you are in luck. This recipe adapts flawlessly.
Preheat your machine to 400°F. Lightly grease the basket. Arrange the chicken in a single, even layer. Cook for roughly 12 minutes total.
Be sure to flip them gently halfway through. This ensures an even crust on all sides.
You can also use the stovetop. Heat a skillet with your preferred high-heat cooking oil. Use medium heat to avoid burning the crust.
Carefully drop the coated pieces into the hot oil. Fry for about three minutes on each side. Transfer the finished nuggets to a paper towel-lined plate.
Serving, Storage, and FAQs
Nothing beats eating these nuggets hot right out of the oven.
The crust is perfectly rigid. The interior remains incredibly juicy.
I love serving these for casual weekend lunches. They also make a fantastic appetizer. Everyone enjoys them. Even people who eat carbs daily will love these.
Serving Suggestions
Dipping sauces elevate this meal.
I highly recommend pairing these with sugar-free ketchup. A low-carb ranch dressing is also a phenomenal choice.
If you like heat? Try a spicy buffalo sauce.
For side dishes, stick to the diner theme. Low-carb zucchini fries complement the chicken wonderfully. A crisp side salad adds a nice pop of color.
Storage and Reheating Advice
You might actually have leftovers. Proper storage keeps them safe and tasty.
Let the chicken cool completely. Place the leftover pieces in an airtight container. Store them in the refrigerator for up to four days.
Freezing is a great option for meal prep. Lay the cooled nuggets flat on a clean tray. Freeze them until solid. This takes about an hour.
Then, transfer them to a freezer-safe bag. They will stay fresh for months.
When hunger strikes, reheating is simple.
Never use the microwave to reheat these. The microwave turns the perfect crust into a soggy mess.
Instead, pop them back into a hot oven. The air fryer is also excellent for reviving the crunch. Heat them until they are warmed all the way through.

Frequently Asked Questions
Can I substitute the crushed pork rinds?
Pork rinds provide the absolute best texture. However, almond flour is an acceptable alternative. The crust will be slightly softer and less crunchy. Use an equal amount of coarse almond flour if needed.
Why did my breading fall off in the pan?
Moisture is usually the main culprit. Always pat the raw chicken completely dry before coating. Also, press the breading firmly into the meat. Let them rest for five minutes before cooking.
Do I have to use a wire rack for baking?
A wire rack is highly recommended. It allows hot air to circulate under the meat. This prevents the bottoms from becoming soggy. If you lack one, simply flip the pieces halfway through baking.
Can I use chicken thighs instead of breasts?
You can definitely use boneless, skinless chicken thighs. They are naturally juicier and offer great flavor. Just trim any large pieces of excess fat first. The cooking time remains exactly the same.
I hope this guide helps you create the perfect meal. Cooking low-carb does not mean sacrificing your favorite textures.
Grab your ingredients and get started today.

Keto Chicken Nuggets {1g carbs}
Ingredients
- 1 pound chicken breast chopped into bite sized pieces
- 2 large eggs whisked
- 1 teaspoon celery salt
- 1 teaspoon salt
- 1/2 teaspoon pepper
- 1 cup keto bread crumbs crushed pork rinds
- 3 tablespoons parmesan cheese
Instructions
- Preheat your oven to 400°F (200°C) and line a large baking tray with parchment paper. Place a wire rack on top.
- Pat the chicken breast pieces completely dry with paper towels.
- In a medium bowl, whisk together the eggs, celery salt, salt, and pepper. In a separate shallow dish, combine the crushed pork rinds and parmesan cheese.
- Dip each piece of chicken into the egg mixture to coat, then press it firmly into the pork rind and parmesan mixture until well-coated on all sides.
- Arrange the breaded nuggets on the wire rack, leaving space between each one to ensure they get crispy.
- Bake for 15 minutes or until the nuggets are golden brown and cooked through.