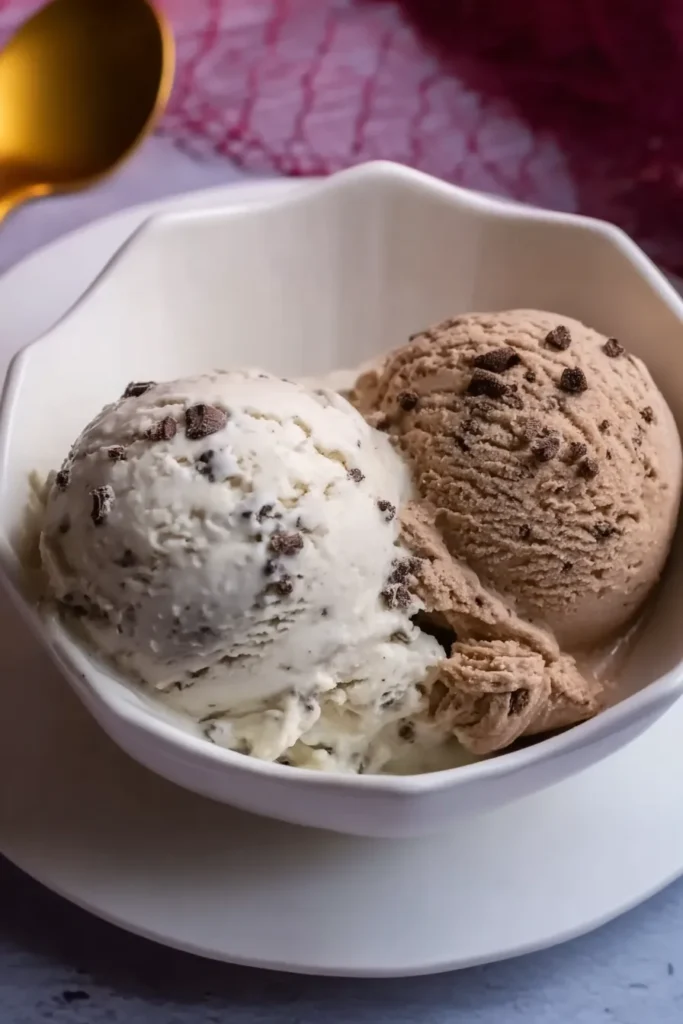
Ever crave a rich frozen dessert while eating low-carb? I know I do. Store-bought options are often full of additives or hidden sugars. Trying to find a clean, keto-friendly treat can be a total headache. Today, I am sharing my favorite homemade solution.
We are making a ridiculously creamy ice cream together. You only need four basic ingredients to pull this off. It feels like magic when you blend them up. No weird syrups. No fake thickeners. This simple recipe satisfies those sweet cravings every single time.
As a chef, I believe food should feel indulgent. Healthy eating should never feel like a punishment. This dessert hits the spot. It is also a blank canvas. You can keep it classic vanilla or go wild with your own flavor combos.
The Secret to Creaminess
Let us talk about why this actually works. Canned coconut milk is the foundation. You must use the full-fat canned version. Carton coconut milk is too watery. It lacks the fat needed for that velvety texture. Fat is your best friend when making homemade ice cream. It keeps the mixture from turning into a block of ice.
Sweeteners matter here, too. Granulated erythritol is my go-to for a clean, sugar-free base. Xylitol also works great and keeps things soft. Just remember to keep xylitol away from any pets. It is safe for humans but dangerous for dogs.
A pinch of salt is my secret weapon. It highlights the natural flavors and balances the sweetness. Finally, the vanilla ties it all together. I love using vanilla bean paste. Those little black specks make the dish look gourmet.
Quick Recipe Details
| Ingredient | Quantity | Notes |
| Canned coconut milk | 2 cups | Use full-fat only. No cartons. |
| Erythritol or xylitol | 1/3 cup | Powdered versions blend better. |
| Salt | 1/8 tsp | Fine sea salt dissolves fast. |
| Vanilla extract | 1 1/2 tsp | Paste is great for flavor specks. |
| Optional flavors | As needed | Cocoa powder, fruit, or mint. |
- Prep Time: 10 minutes
- Cook Time: 0 minutes
- Total Time: 10 minutes (plus freezing)
- Servings: 4
- Difficulty: Easy
How to Make It
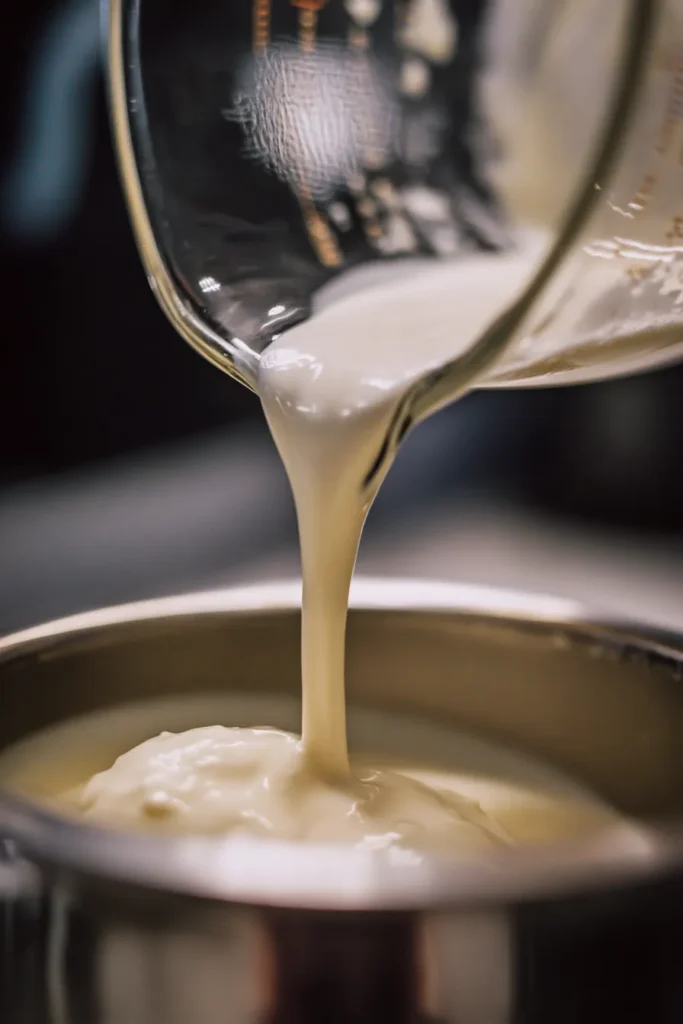
Preparing the base is fast. Toss your ingredients in a bowl. Whisk them until the sweetener dissolves completely. This ensures you do not get a grainy bite later.
If you have an ice cream machine, you are set. Pour the base in and let it churn. Follow your machine’s manual. It usually takes about 15 to 20 minutes to reach a soft-serve texture.
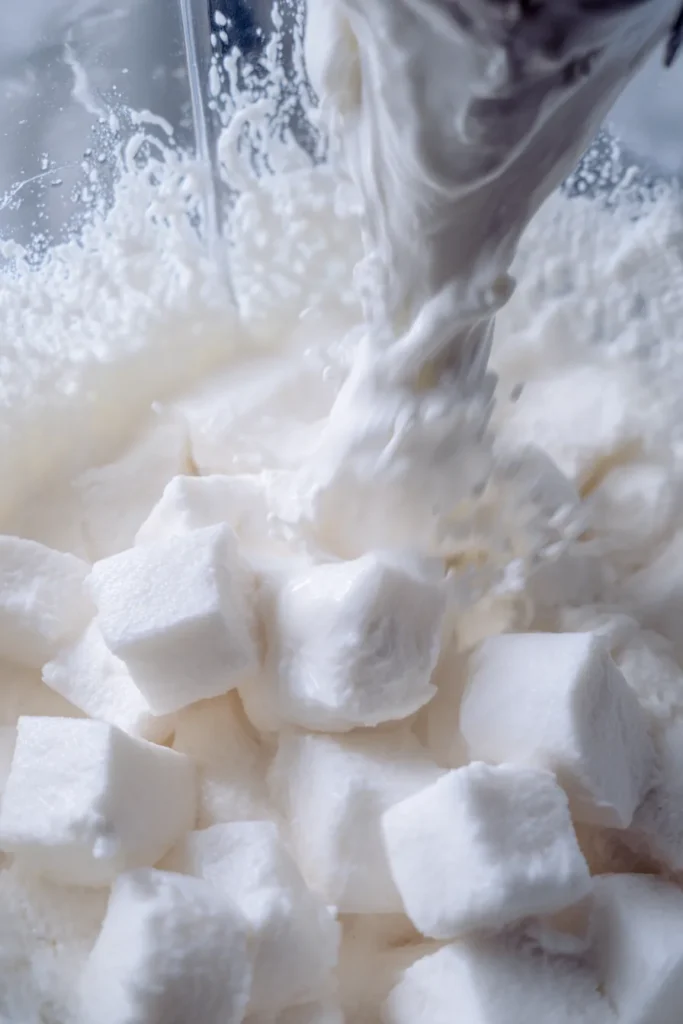
No machine? No problem. I use the “ice cube” method all the time. Pour your mix into ice cube trays. Freeze them until solid. It takes about 4 to 6 hours.
Once they are frozen, pop the cubes into a blender. A high-speed blender like a Vitamix works best. Blend on high until it turns into a creamy dream. You might need a tamper to help it along. If you use a standard blender, let the cubes sit for a minute to thaw just a little.
Flavor Ideas
Want to switch things up? Try these ideas:
- Chocolate: Stir in 1/4 cup of high-quality cocoa powder. Whisk well to get the lumps out.
- Strawberry: Fold in 1/2 cup of diced strawberries. I like to mash them slightly first.
- Mint Chip: Add a few drops of peppermint extract. Then, fold in some sugar-free chocolate chips.
Commercial ice creams have chemicals to keep them soft. Our version is pure. It is best eaten the day you make it. But if you have leftovers, store them in an airtight container. Press a piece of parchment paper on top to stop ice crystals. When you want more, let it sit on the counter for 15 minutes before scooping.
Frequently Asked Questions
Can I use almond milk?
I do not suggest it. It has too much water and not enough fat. Your ice cream will turn into a hard, icy brick. Stick to canned coconut milk.
Why did my leftovers get so hard?
Without stabilizers, sugar-free ice cream can firm up in the freezer. Just let it thaw on the counter for a few minutes. It will scoop perfectly once it softens.
Can I use liquid stevia?
You can, but it changes the texture. Granulated sweeteners provide bulk. Liquid stevia is very strong, so add it drop by drop and taste as you go.
How long does it keep?
It is best fresh, but it will last up to one month in the freezer. Keep it sealed tight to avoid that stale freezer taste.
Final Steps to Success
- Check your coconut milk can. Make sure it is full-fat.
- Whisk your base until smooth.
- Churn it in your machine OR use the ice cube method.
- Blend until creamy.
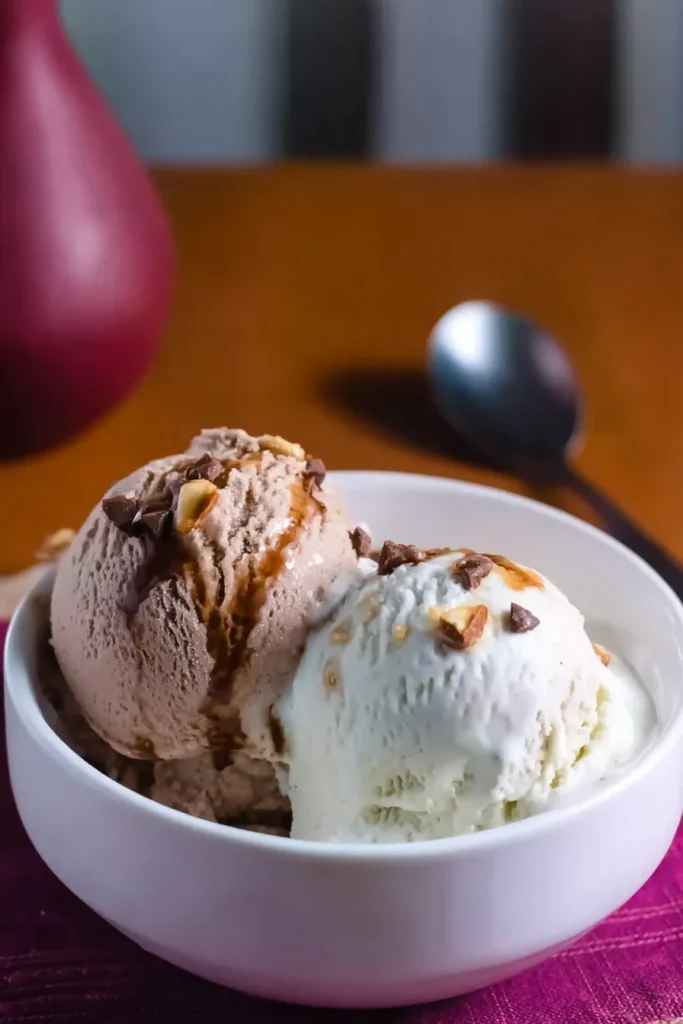
- Serve it right away for that soft-serve feel.
You deserve a treat that fits your lifestyle. This recipe is simple, clean, and delicious. Gather your ingredients, start the blender, and enjoy every single bite. Happy scooping!
4-Ingredient Keto Ice Cream
Ingredients
- 2 cups canned coconut milk Full-fat variety only
- 1/3 cup erythritol, xylitol, or sweetener of choice Powdered versions blend best
- 1/8 tsp salt Fine sea salt preferred
- 1 1/2 tsp pure vanilla extract or vanilla bean paste
- optional ingredients for desired flavor e.g., cocoa powder, berries, mint
Instructions
- In a large bowl, whisk together the canned coconut milk, your choice of sweetener, salt, and vanilla until fully combined and the sweetener is dissolved.
- If using an ice cream maker: Pour the mixture into your machine and churn according to the manufacturer’s directions until a soft-serve texture is reached.
- If making no-churn: Pour the mixture into ice cube trays and freeze for 4 to 6 hours until completely solid.
- Once solid, pop the frozen cubes into a high-speed blender and process until a smooth, creamy ice cream texture forms.
- Serve immediately for a soft-serve consistency, or transfer to an airtight container and freeze for an hour if you prefer firmer scoops.