3-Ingredient Sugar Free Keto Marshmallows
- Total time
- 6 hours 35 minutes
- Makes
- 4 servings
- Net carbs
- 0g
- Calories
- 30
Ever craved a fluffy marshmallow, but dreaded the terrible sugar crash? I definitely have.
Marshmallows are sugar, water and gelatin whipped into a foam, which means the sugar is doing structural work rather than just tasting sweet. Take it out and the whole thing falls flat in the bowl. That is the actual problem this recipe has to solve, and it takes three tablespoons of beef gelatin to solve it.
The good news? My kitchen experiment worked perfectly.
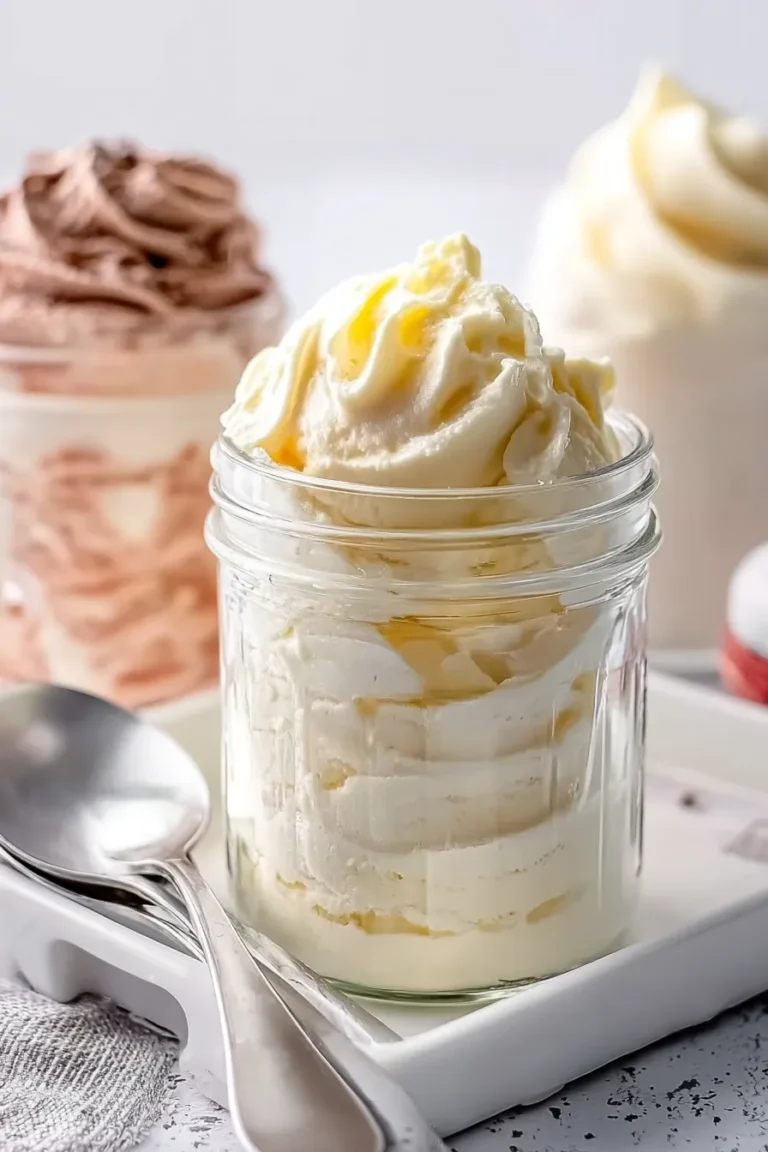
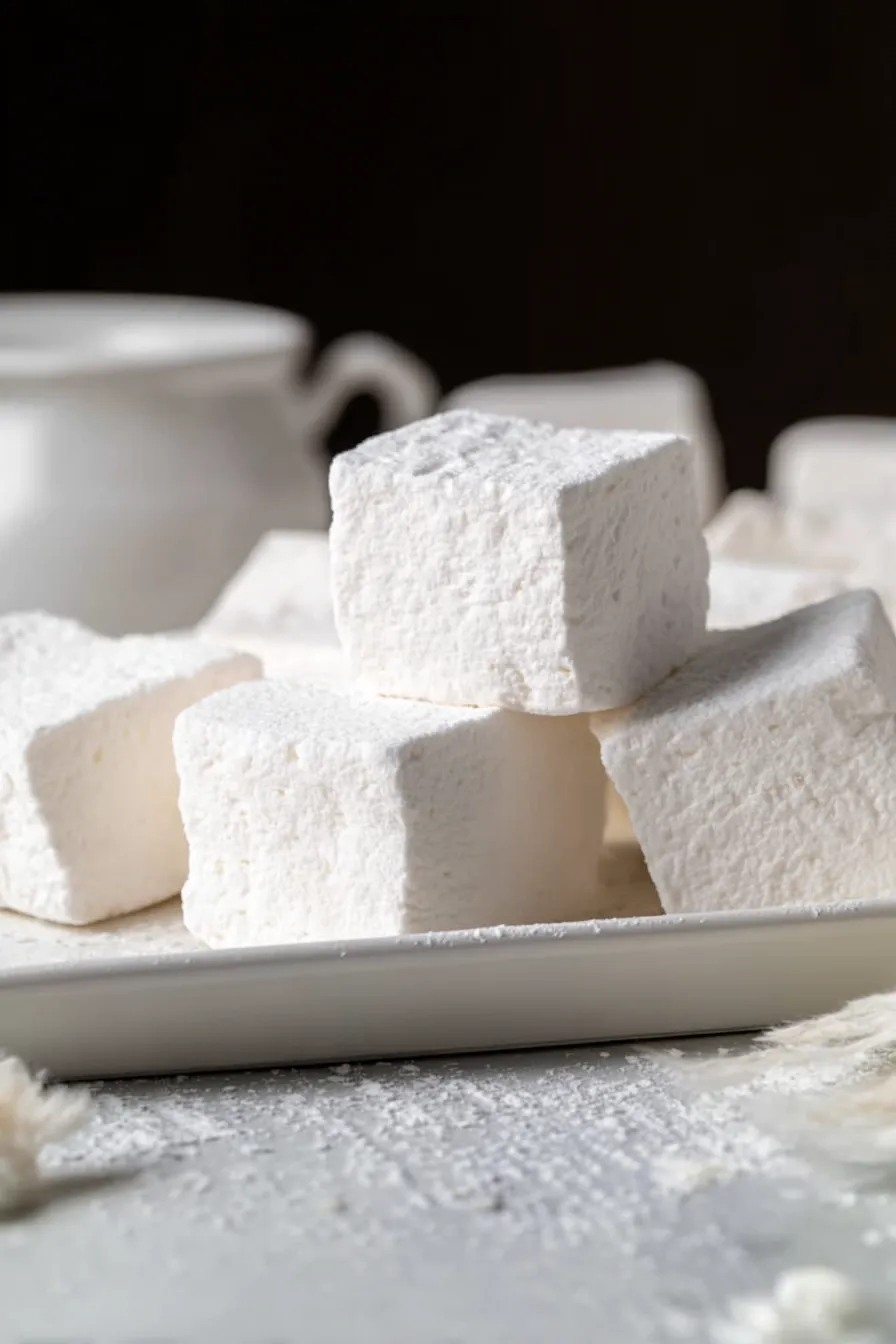
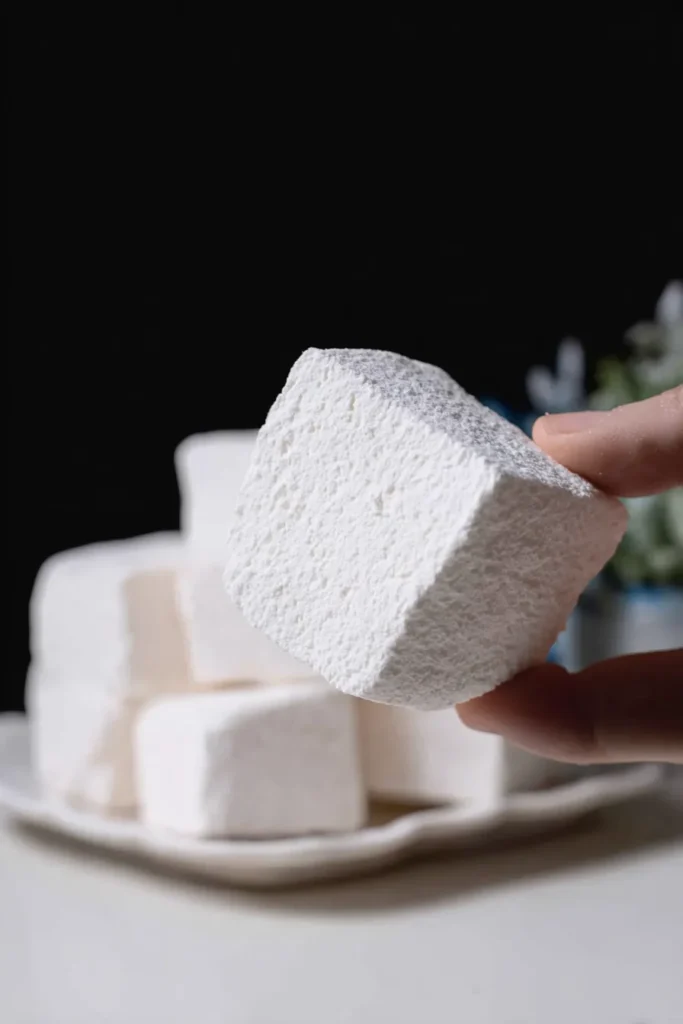
These 3-Ingredient Sugar Free, Paleo & Keto Marshmallows are the ultimate fix. They are incredibly soft. They are perfectly chewy. And they are completely guilt-free. Making them feels exactly like performing a fun magic trick right in your kitchen. The three ingredients in the name are the ones you actually shop for: grass-fed beef gelatin, xylitol or allulose, and vanilla extract. Water and a pinch of kosher salt are pantry staples, and the dark chocolate, keto graham crackers and raspberry chia jam are optional serving suggestions rather than part of the base.
Choosing a Sweetener
Regular store-bought marshmallows are packed with corn syrup and refined white sugar. We are leaving those unhealthy ingredients completely behind. Instead, we use either xylitol or allulose to get that perfect sweetness.
Each substitute behaves a little differently in this recipe. Think of xylitol as your go-to for chewiness. It creates a wonderfully dense marshmallow texture. Allulose, on the other hand, is like a soft cloud. It makes the final result incredibly light and airy.
I usually prefer using exactly one cup of xylitol for a chewier bite. If I want them significantly softer, I use one and a third cups of allulose.
A very important warning regarding xylitol: It is highly toxic to dogs and other household pets. If you have furry friends running around, you must be careful. I highly recommend using allulose if you have pets nearby. It is much safer and still yields amazing results.
Why Beef gelatin Matters
The beef gelatin is the whole structure and there is no substitute for it here. It is what lets the hot syrup whip into a stable foam and then hold that shape for six hours in the pan. Use a good grass-fed one; cheaper gelatin sets softer and tends to weep at the edges.
Prep Before You Start
Before we start cooking, we need to talk about kitchen prep. Professional chefs call this concept mise en place. It simply means having every single ingredient measured and ready.
Why is this so important? Because this recipe moves incredibly fast.
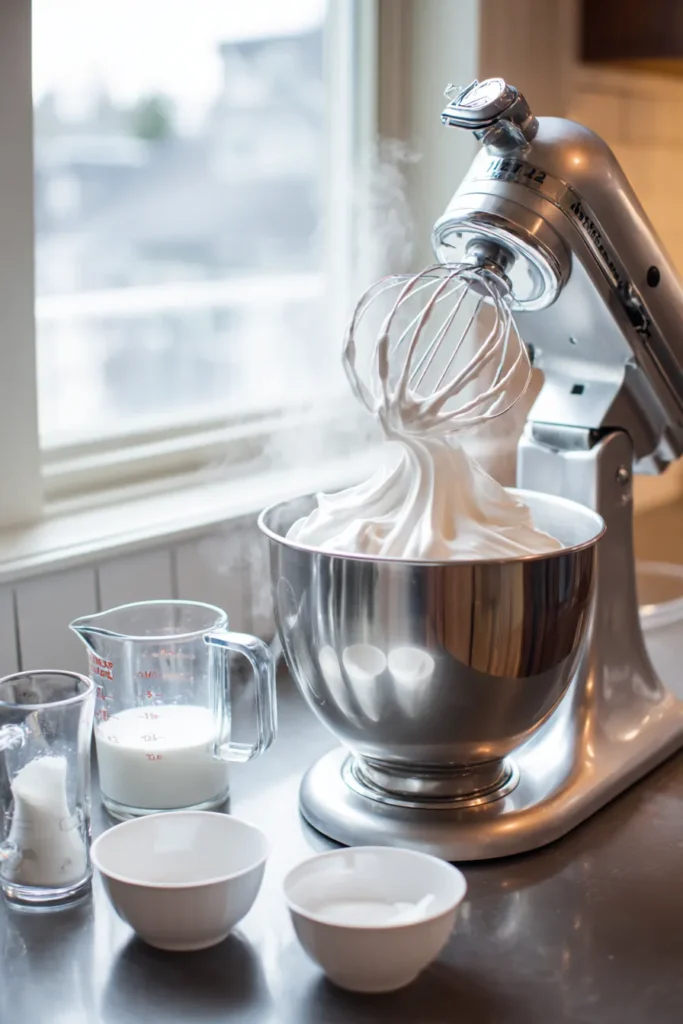
You cannot stop to measure vanilla extract while your hot syrup is boiling. Setting up your workspace guarantees a stress-free cooking experience. I always line up my ingredients before touching the stove.
Your final marshmallow texture also depends heavily on the weather. Humidity is the absolute worst enemy of homemade candy. If it is raining heavily outside, your treats might absorb extra moisture. This can make them feel slightly sticky on the outside. Do not let that discourage you. Just let them dry out a little longer on the counter.
I promise this project is completely worth your effort. Watching clear liquid transform into bright white fluff is spectacular. Plus, you will never want to buy packaged marshmallows ever again.
Prep Time & Yields
Prep Time: 10 minutes
Cook Time: 15 minutes
Resting Time: 6 hours
Total Time: 6 hours 25 minutes (25 minutes active + 6 hours resting)
Servings: 4 (roughly 16 marshmallows from a standard 8-inch square dish, about 4 per serving)
Nutrition per serving: 30 calories, 6 g protein, 0 g net carbs, 110 mg sodium. Those figures count the beef gelatin and the vanilla extract only. Sugar alcohols are left out of the calorie and carb totals, which is the keto net convention used across this site – counted in full, 1 cup of xylitol would add about 114 calories per serving and 1 1/3 cups of allulose about 21.
Difficulty: Easy
Ingredients Breakdown
| Ingredient | Exact Quantity | Recipe Purpose & Important Notes |
| Cold water | 1/2 cup | Used specifically for blooming the beef gelatin powder |
| Beef gelatin | 3 tablespoons | Grass-fed preferred for optimal structure and health benefits |
| Water | 2/3 cup | Used for boiling and dissolving your chosen sweetener |
| Xylitol or Allulose | 1 cup (1 1/3 cups allulose) | We use 1 cup for xylitol & 1 1/3 cup for allulose |
| Kosher salt | 1/4 teaspoon | Perfectly balances and enhances the overall sweetness |
| Vanilla extract | 2 teaspoons | Provides that classic, nostalgic marshmallow flavor profile |
| Dark chocolate | As needed | Lily’s brand works wonderfully for serving and dipping |
| Keto graham crackers | As needed | Absolutely essential for making delicious indoor s’mores |
| Raspberry chia jam | As needed | A delightfully tart, fruity topping that cuts the sweetness |
Step-by-Step Instructions
1. Bloom the beef gelatin
First, you need to properly bloom your beef gelatin powder. Pour the half cup of cold water into your stand mixer bowl. Sprinkle the three tablespoons of beef gelatin completely evenly over the surface. Use a fork to mix it very gently until combined. Let this thick mixture rest undisturbed for exactly ten minutes. This vital hydration step ensures a wonderfully smooth, lump-free texture.
2. Prepare the syrup
Next, you will prepare your sugar-free syrup on the stovetop. Grab a medium saucepan and pour in the two-thirds cup of water. Carefully add your granulated sweetener directly into the center. Do not stir the mixture with a spoon. Stirring can encourage unwanted crystallization on the pan sides. Simply bring the pan to a steady boil over medium heat.
3. Boil the liquid
Let the sweet liquid boil vigorously for exactly two minutes. You want the sweetener granules to dissolve entirely. Give the saucepan a few gentle shakes to encourage dissolving if needed. If you own a candy thermometer, the mixture should reach about 210 degrees Fahrenheit.
4. Combine and mix
Now comes the most fast-paced part of the process. Turn your stand mixer on low to break up the beef gelatin. Carefully and slowly pour the hot syrup down the inside of the bowl. Try to avoid hitting the spinning whisk attachment with the hot liquid. Once all the hot liquid is added, increase the mixer speed to high.
5. Whip the fluff
You must whip this hot mixture continuously for fifteen minutes. Watch in amazement as it transforms into thick, glossy white fluff. At the eight-minute mark, toss in your quarter teaspoon of kosher salt. At the twelve-minute mark, pour in your two teaspoons of vanilla extract.
6. Set and slice
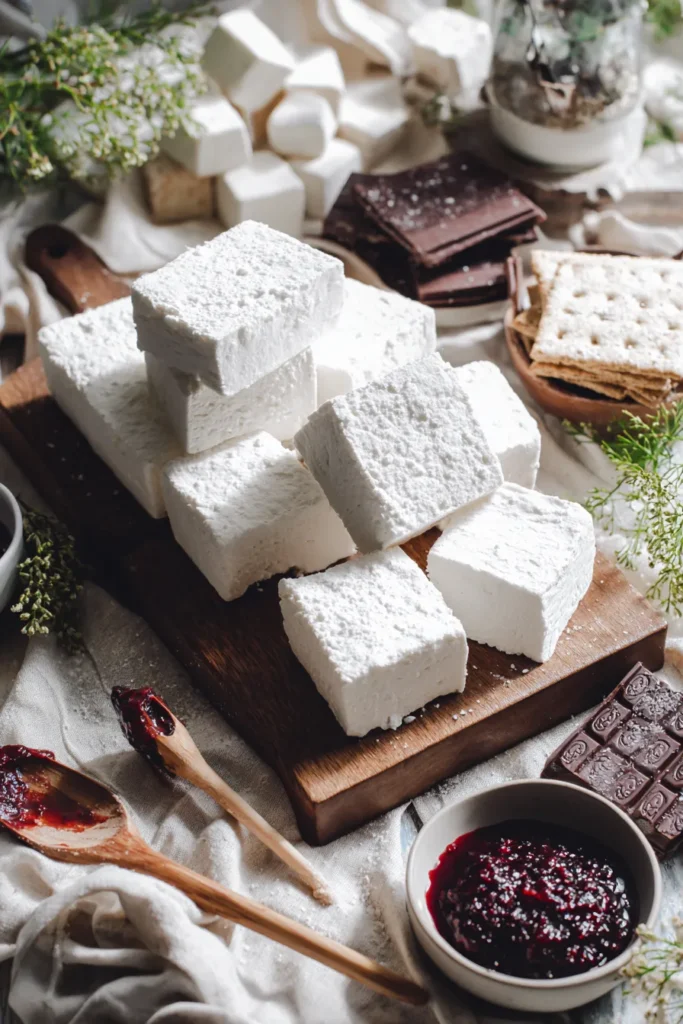
Finally, move quickly to transfer the finished fluff into a pan. Pour the sticky mixture into a lined and heavily greased square dish. Let it rest completely uncovered at room temperature for at least six hours. This wait is not optional, so plan ahead – start them in the morning for an evening treat, or make them the night before. Once they are fully set, slice them with a greased knife. Serve them beautifully alongside dark chocolate and keto graham crackers. They also taste phenomenal topped with a dollop of raspberry chia jam.

Frequently Asked Questions
Can I substitute erythritol for xylitol or allulose in this recipe?
I strongly advise against using erythritol for this specific candy. Erythritol tends to crystallize aggressively when it cools down. This chemical reaction leaves you with a very crunchy, unpleasantly grainy texture. Always stick to xylitol or allulose for a smooth, chewy result.
Why are my finished marshmallows sweating or feeling sticky?
Humid weather is the absolute biggest enemy of homemade candy. If it is raining outside, they might absorb moisture from the air. Simply blot them very gently with a dry paper towel. Letting them dry slightly longer on the counter also resolves this issue quickly.
Can I toast these marshmallows over an open campfire?
Unfortunately, sugar-free marshmallows do not toast like traditional ones. Sugar alcohols completely lack the specific chemical properties needed for caramelization. They will simply melt rapidly and drip if exposed to a direct flame. However, you can melt them gently in the oven for amazing indoor s’mores.
How should I properly store these keto-friendly marshmallows?
You should always keep them in an airtight container at room temperature.
- Never put them in the refrigerator.
- Cold temperatures will inevitably make them weep moisture and become sticky.If stored in a cool, dry pantry, they will easily stay fresh for two weeks.
Do I absolutely need a stand mixer to make this recipe?
A powerful stand mixer makes this entire process significantly easier. You certainly can use a standard electric hand mixer if needed. However, you will need to stand and mix continuously for fifteen solid minutes. I highly recommend halving the entire recipe if you use a manual hand mixer.
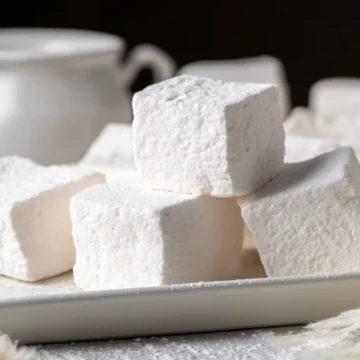
3-Ingredient Sugar Free, Paleo & Keto Marshmallows
Ingredients
Marshmallow Base
- 1/2 cup Cold water Used specifically for blooming the beef gelatin powder
- 3 tbsp Beef gelatin Grass-fed preferred for optimal structure and health benefits
- 2/3 cup Water Used for boiling and dissolving your chosen sweetener
- 1 cup Xylitol or Allulose We use 1 cup for xylitol & 1 1/3 cup for allulose
- 1/4 tsp Kosher salt Perfectly balances and enhances the overall sweetness
- 2 tsp Vanilla extract Provides that classic, nostalgic marshmallow flavor profile
Serving Suggestions
- Dark chocolate Lily’s brand works wonderfully for serving and dipping
- Keto graham crackers Absolutely essential for making delicious indoor s’mores
- Raspberry chia jam A delightfully tart, fruity topping that cuts the sweetness
Instructions
- Pour the half cup of cold water into your stand mixer bowl. Sprinkle the three tablespoons of beef gelatin completely evenly over the surface. Use a fork to mix it very gently until combined. Let this thick mixture rest undisturbed for exactly ten minutes.
- Grab a medium saucepan and pour in the two-thirds cup of water. Carefully add your granulated sweetener directly into the center. Do not stir the mixture with a spoon. Simply bring the pan to a steady boil over medium heat.
- Let the sweet liquid boil vigorously for exactly two minutes. You want the sweetener granules to dissolve entirely. Give the saucepan a few gentle shakes to encourage dissolving if needed. (Target temperature: 210°F).
- Turn your stand mixer on low to break up the beef gelatin. Carefully and slowly pour the hot syrup down the inside of the bowl, avoiding the spinning whisk attachment. Once all the hot liquid is added, increase the mixer speed to high.
- Whip this hot mixture continuously for fifteen minutes. Watch it transform into thick, glossy white fluff. At the eight-minute mark, toss in your quarter teaspoon of kosher salt. At the twelve-minute mark, pour in your two teaspoons of vanilla extract.
- Move quickly to transfer the finished fluff into a pan. Pour the sticky mixture into a lined and heavily greased square dish. Let it rest completely uncovered at room temperature for at least six hours. Once fully set, slice with a greased knife.
Notes
Keep cooking