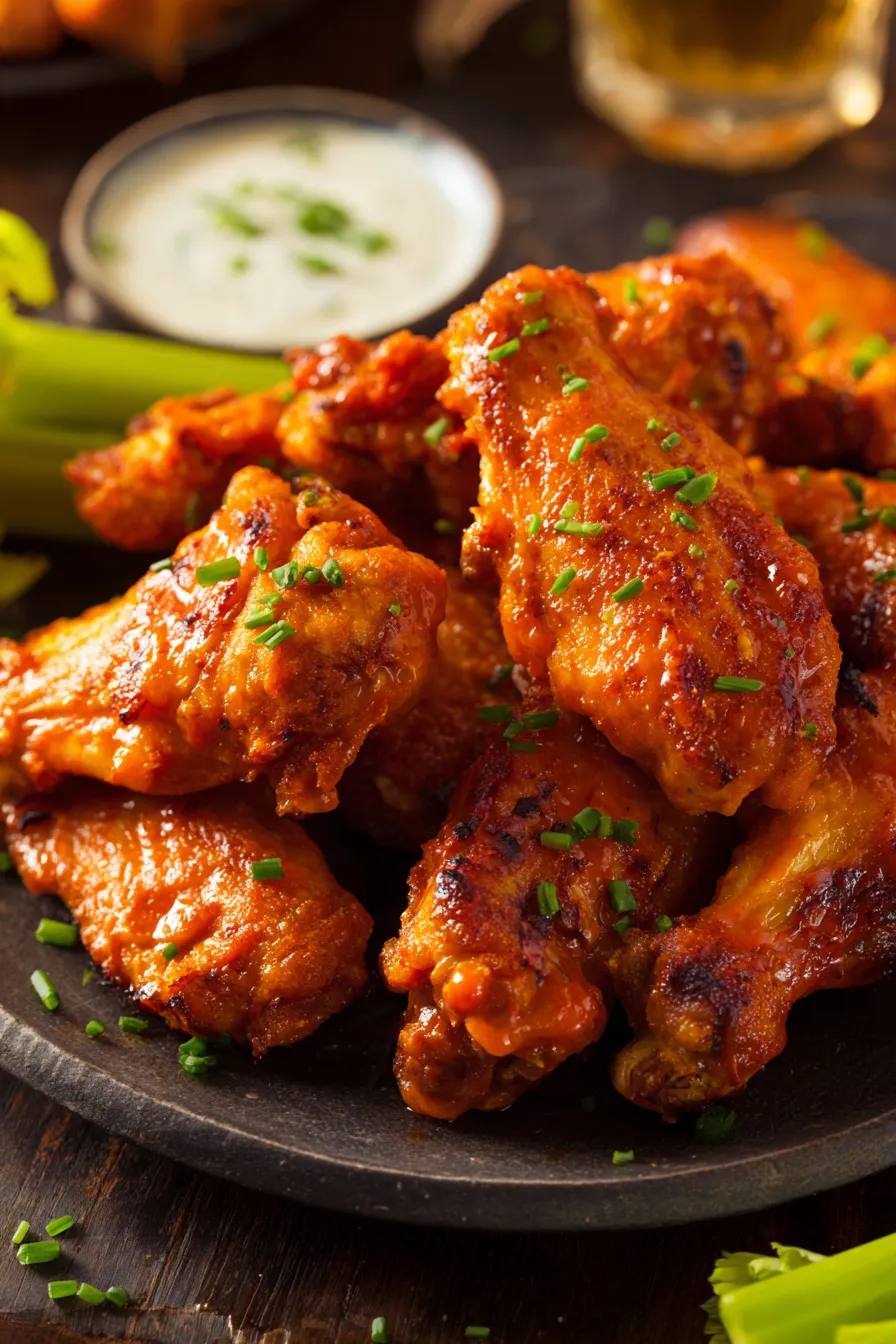
Keto Chicken Wings (Crispy Skin, 1.3g Net Carbs)
- Total time
- 9 hours 30 minutes
- Makes
- 6 servings (7-8 pieces each)
- Net carbs
- 1.3g
- Calories
- 364
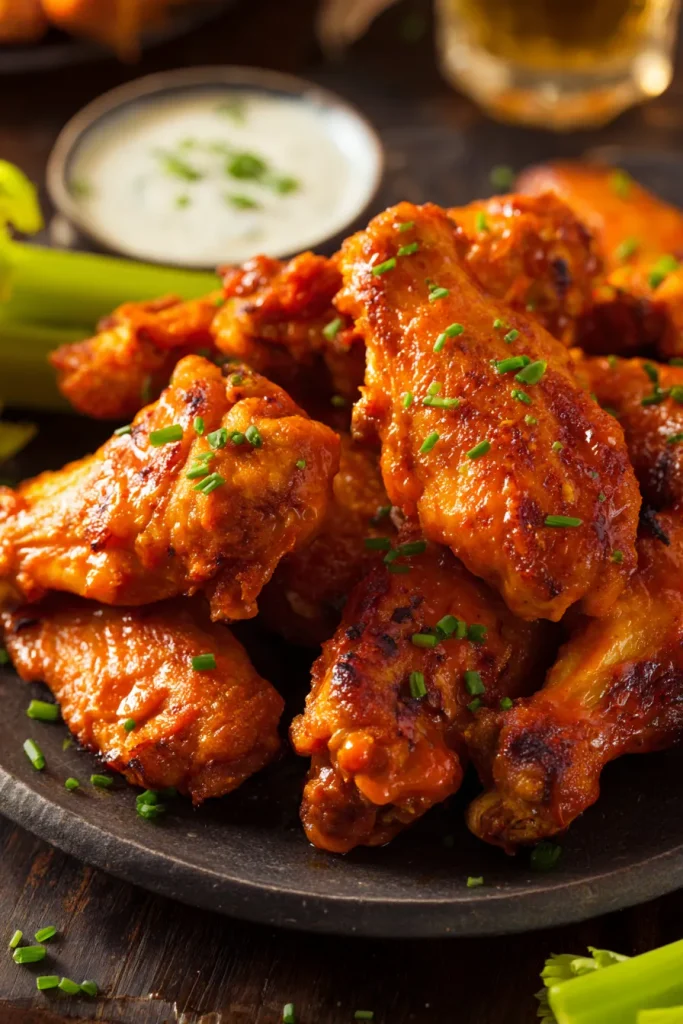
Wings go soft for one reason, and it is not the sauce.
It is water. Chicken skin is roughly half water by weight, and skin cannot crisp until that water is gone. Everything that actually works here — the salt cure, the uncovered rest in the fridge, the low first stage in the oven, the rack — is doing the same single job. Drive the water out, then brown what is left.
Which is also why this recipe is written for wings that were frozen. Most halal wings are sold frozen or previously frozen, and a previously frozen wing carries noticeably more water than a fresh one, because freezing ruptures the cells and they weep on thawing. Nearly every wing recipe online is written for fresh supermarket wings and quietly fails on frozen ones. The fix is not complicated, but nobody tells you it is needed.
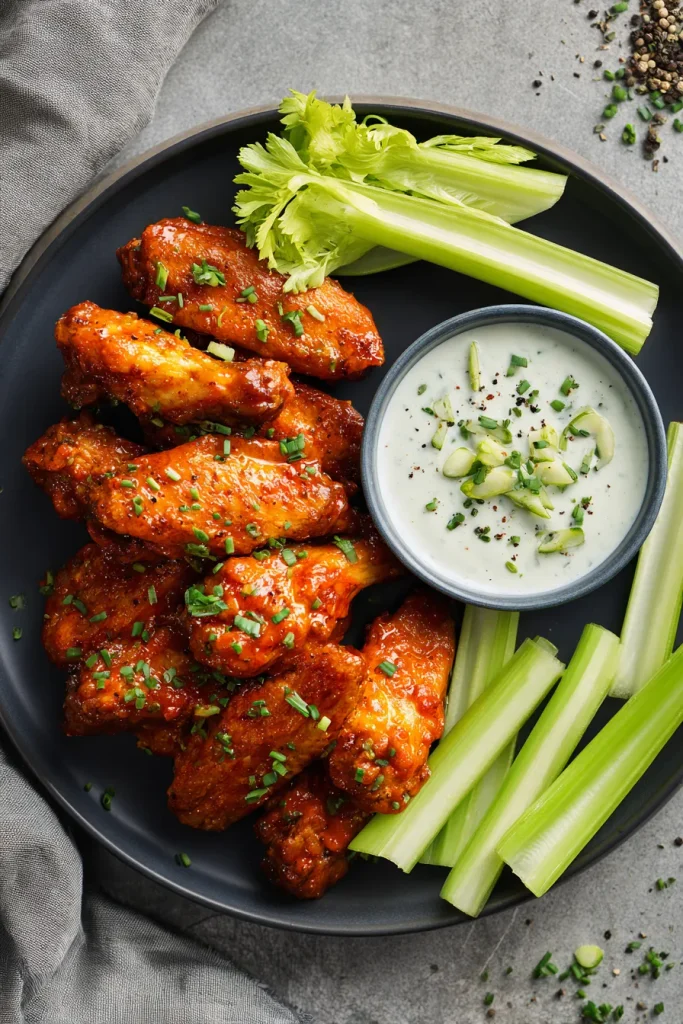
The Four Things That Make Skin Crisp
A salt cure, uncovered, in the fridge. Salt the wings, lay them on a rack, and leave them uncovered overnight. The salt draws moisture to the surface and the dry fridge air carries it away. Uncovered is the operative word — cover the tray and you have made a humidity box.
Baking powder, added just before baking. It is alkaline, and raising the pH of the skin makes it brown faster and blister into that pebbled texture. Use aluminium-free baking powder, never baking soda, which will taste of metal. I add it at the last minute rather than at cure time, so it goes onto a dry surface and stays put — it will not adhere to a wet or half-frozen wing.
Two temperatures, not one. Thirty minutes at 250°F renders the fat out of the skin gently, without setting it. Then 425°F crisps what remains. This is standard test-kitchen practice rather than a secret, and it is worth the extra half hour: a single-stage bake leaves more fat trapped under the skin, and trapped fat is soft skin.
A rack, and then leave them alone. Here is the rule worth remembering, because the recipes you will find contradict each other on it: rack and no flip, or pan and flip — never pan and no flip. On a rack, air reaches every side and turning them achieves nothing but tearing the skin. Directly on a pan, the underside sits in rendered fat and must be turned. The versions that produce soggy bottoms are the ones that put wings on a pan and then never flip them.
Recipe Overview
- Prep Time: 15 minutes
- Dry Brine: 8 to 24 hours, uncovered in the fridge
- Cook Time: 1 hour 15 minutes
- Servings: 6, about 7 to 8 pieces each
- Net Carbs: 1.3g per serving
- Difficulty: Easy, but not fast
The overnight cure is ten minutes of work the day before. If you genuinely cannot plan ahead, there is a same-day route further down — it is a step behind on crispness and I would rather say that than pretend otherwise.
Ingredients
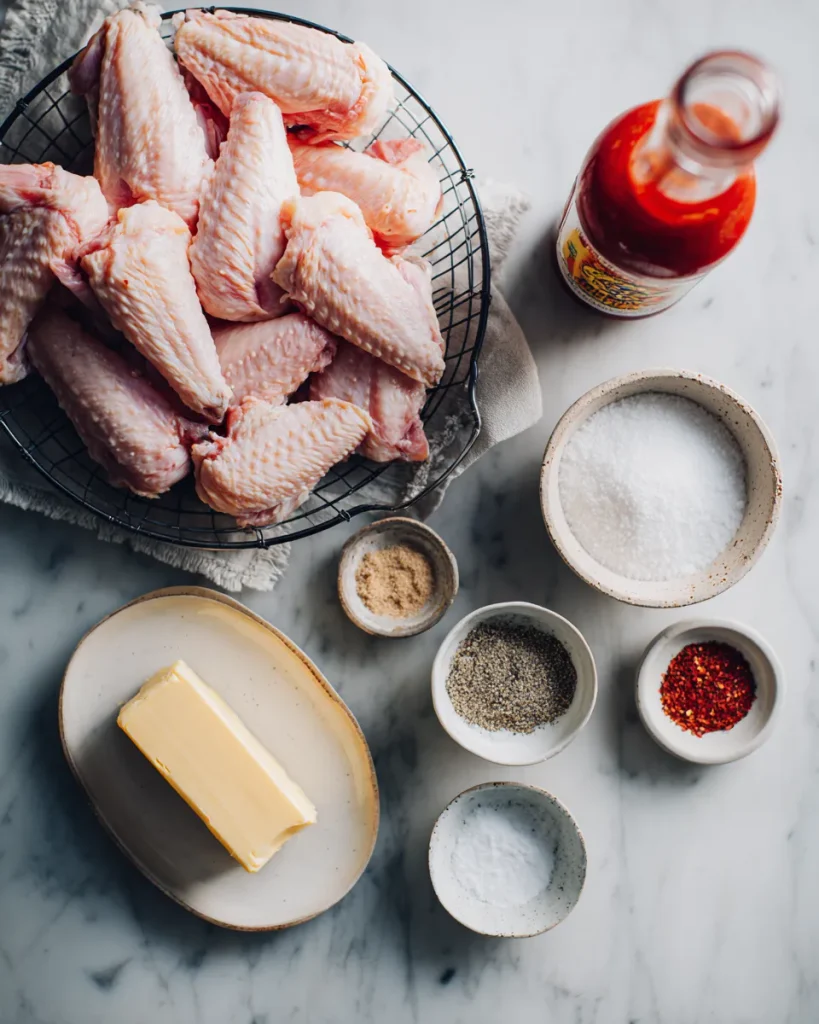
For the Wings
| Ingredient | Quantity | Notes |
| Chicken wings | 3 lb (1.4 kg) | Party wings, already split with the tips removed |
| Fine sea salt | 1½ tsp | ½ tsp per pound. Double it for Diamond Crystal kosher |
| Aluminium-free baking powder | 1 tbsp | 1 tsp per pound. Never baking soda |
| Garlic powder | ½ tsp | |
| Black pepper | ¼ tsp | |
| Avocado oil | 1 tsp | For wiping the rack — see the note below |
For the Buffalo Sauce
| Ingredient | Quantity | Notes |
| Cayenne pepper hot sauce | ½ cup (120 ml) | Original, not wing sauce — see below |
| Unsalted butter, melted | 5 tbsp (70 g) | |
| Garlic powder | ½ tsp |
Buy the original hot sauce, not the buffalo wing sauce. They sit side by side and look nearly identical. Original cayenne pepper sauce is essentially zero carbs per tablespoon; the wing sauce version runs about a gram, which is eight grams across this batch for a difference you would not taste.
Oil the rack, and use avocado oil. Bare wire at 425°F welds itself to chicken skin, and the crust you spent an hour building tears off and stays on the rack. Wipe it with a teaspoon of avocado oil. Do not use olive oil spray — over 45 minutes at this heat it polymerises into a sticky varnish that makes the sticking worse rather than better.
Recipe Timing
| When | Step | Time |
| Two days before | Thaw frozen wings in the fridge | 24 hours, hands off |
| The night before | Pat dry, salt, rack, into the fridge uncovered | 10 minutes |
| The day | Toss with baking powder and spices | 5 minutes |
| The day | Render at 250°F | 30 minutes |
| The day | Crisp at 425°F | 40 to 45 minutes |
| The day | Toss in sauce and serve | 2 minutes |
Step-by-Step Instructions
1. Thaw properly, if they were frozen
Thaw in the fridge, on a tray, for a full 24 hours. Not on the counter — chicken sitting at room temperature spends hours in the range where bacteria multiply fastest, and you will find recipes that tell you to do it anyway. Once thawed, pour off any liquid in the tray and pat every wing dry with paper towels, getting into the folds at the joint where water hides.
2. Salt and leave them uncovered overnight
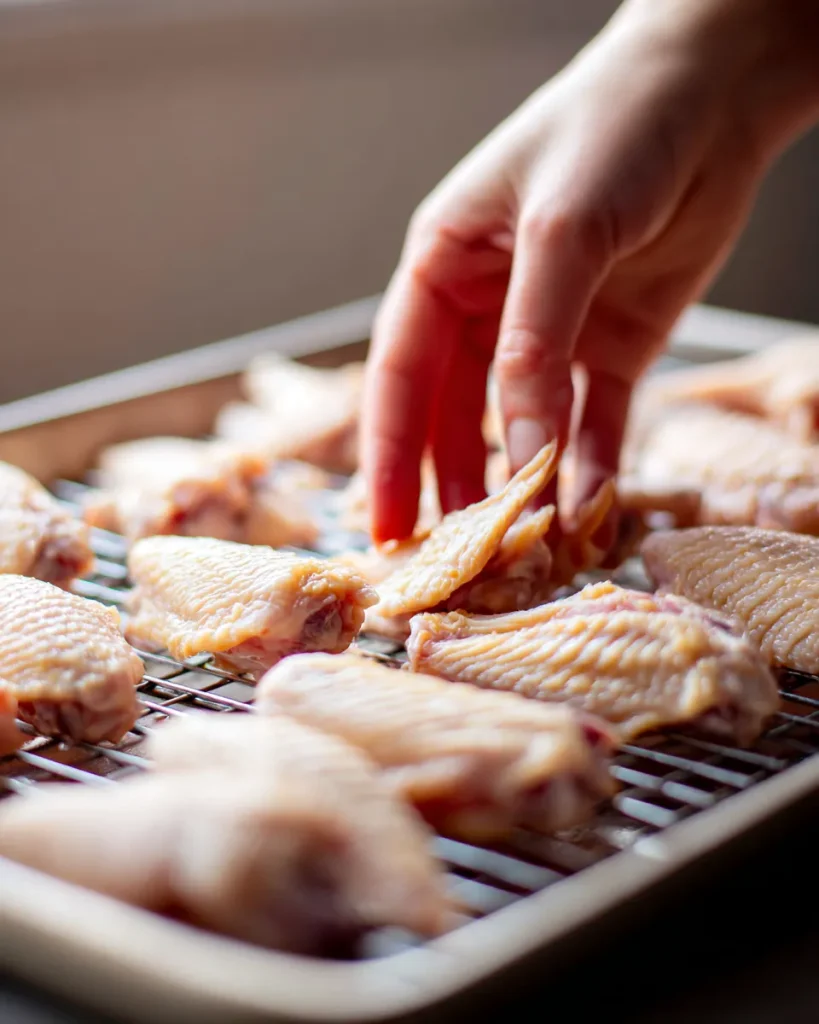
Toss the dry wings with the salt only — no baking powder yet — and spread them in a single layer on a rack set over a tray. Refrigerate uncovered for 8 to 24 hours. Previously frozen wings hold more water, so give them the longer end of that window. When they are ready the skin looks matte and slightly leathery, and feels dry to the touch rather than tacky.
3. Coat, and line the pan with foil — not parchment
Heat the oven to 250°F. Line a rimmed baking sheet with foil and set an oiled rack over it. Toss the cured wings with the baking powder, garlic powder and pepper until evenly dusted, and lay them out in a single layer with space between them.
Use foil, not parchment. Parchment is rated to around 420 to 450°F, and this bake finishes at 425°F for the better part of an hour with chicken fat dripping onto it. It scorches, it smokes, and under a broiler it can catch. Plenty of wing recipes tell you to line the pan with parchment because they never take it past 400°F.
4. Render low, then crisp hot
Bake at 250°F for 30 minutes. Nothing will look like it is happening. It is — the fat under the skin is melting and running off.
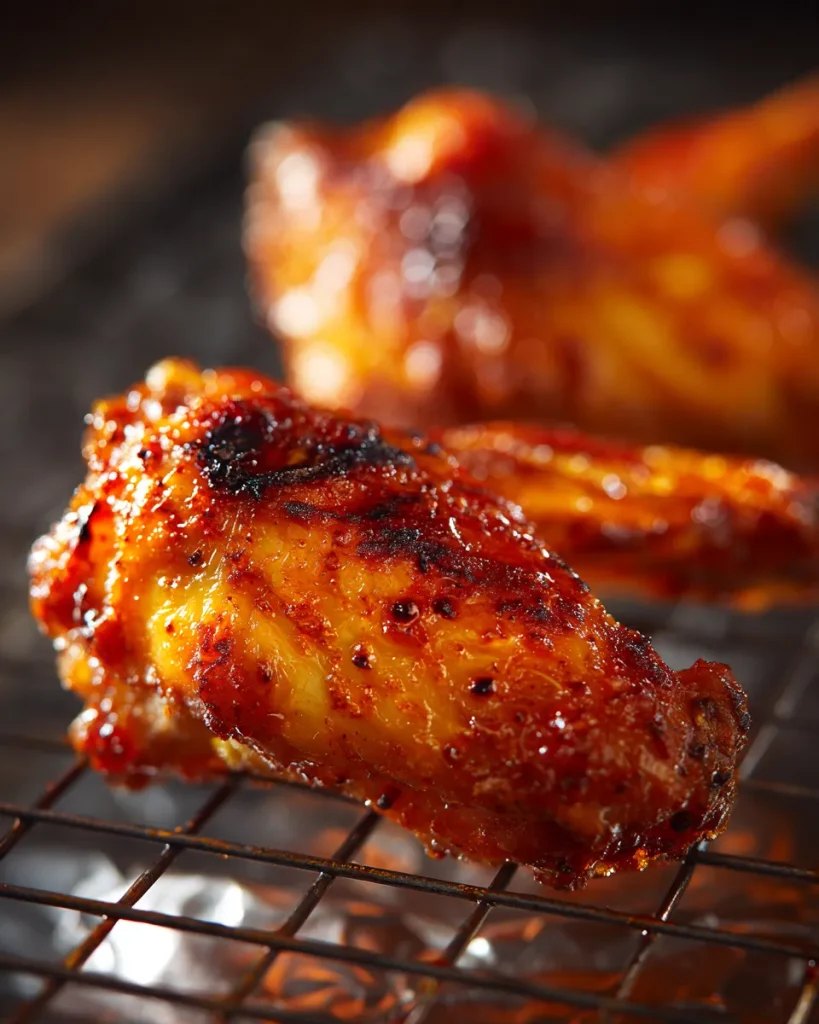
Now turn the oven up to 425°F and leave the wings inside while it climbs. Most ovens take ten to fifteen minutes to get there, and pulling the tray out to wait on the counter just lets the skin cool and re-absorb moisture. Once at temperature, give them 40 to 45 minutes more. Do not turn them.
Take them to 175°F, not 165°F. Chicken is safe at 165°F, but a wing is nearly all connective tissue, and that tissue needs the higher temperature to break down. At 165°F a wing is safe and rubbery. At 175°F it pulls cleanly off the bone.
5. Sauce them immediately
Whisk the hot sauce, melted butter and garlic powder together in a bowl large enough to toss in. Tip the wings straight from the oven into the sauce and toss to coat.
Do it now, and eat them within about fifteen minutes. Sauce is water, and water is what you have spent a day removing — the clock starts the moment they are coated. If people are not at the table yet, leave the wings bare on the rack in a warm oven and sauce them when they sit down.
Recipe Tips and Variations
Only broil after saucing if the sauce contains a sweetener. This is the one worth writing down. A barbecue-style sauce with allulose or monk fruit in it will caramelise and tighten under two minutes of broiler heat, and it is excellent. A buffalo sauce is butter and vinegar, and there is nothing in it to caramelise — the butter simply breaks, runs off through the rack and smokes. Broil bare wings if you want extra colour, or broil a sweet sauce. Never broil buffalo sauce.
Whole wings, not party-cut? Halal wings are often sold whole. Joint them yourself through the two joints with a heavy knife, or add 10 to 15 minutes to the second stage and check the temperature at the thickest part of the drumette.
Air fryer. Cure them the same way, then 380°F for 20 to 24 minutes, shaking the basket every 8 minutes, in a single layer with gaps. Real air fryers vary enormously from their dials — independent testing has found models running dozens of degrees below their setpoint — so go by colour and a thermometer, not the timer.
Same-day version. Pat very dry, salt and baking powder together, rest uncovered on the rack for 45 minutes at room temperature, then bake as written. Noticeably less crisp than the overnight cure, and still better than most wings you will be served.
Garlic butter variation: 5 tbsp melted butter, 3 minced garlic cloves cooked in it for a minute, a handful of chopped parsley and a good grind of pepper. Toss the same way.
Serving Suggestions
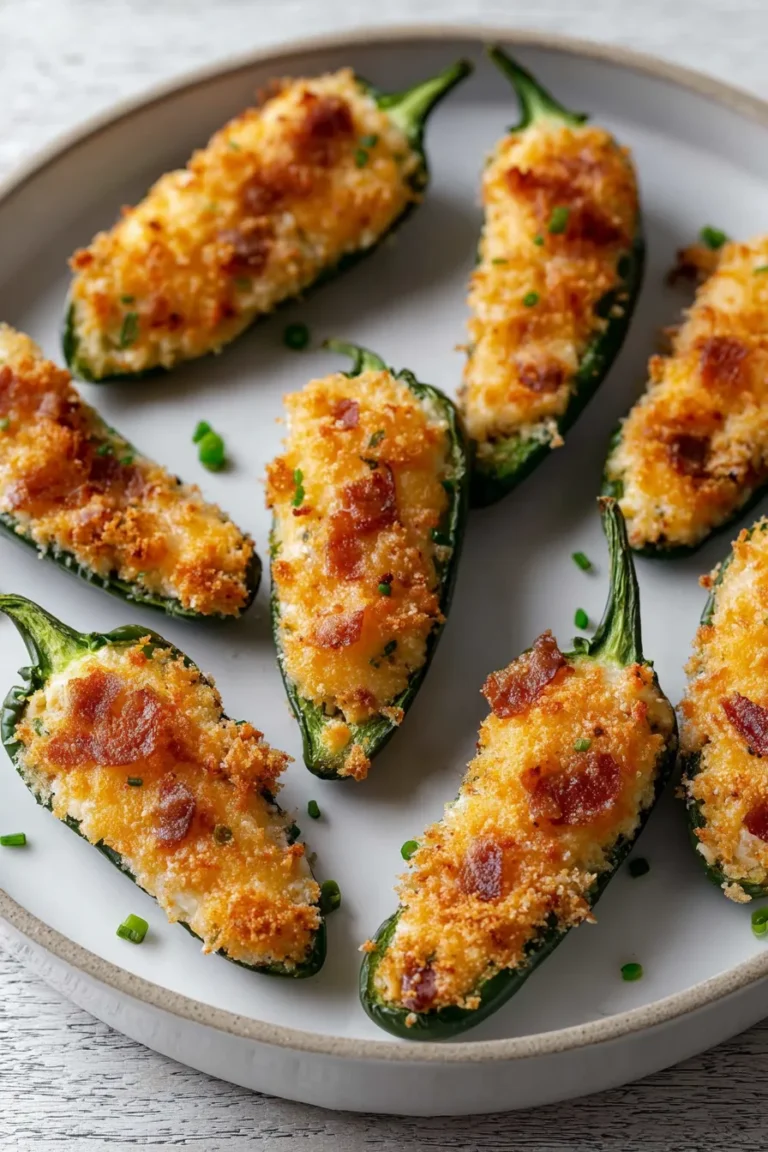
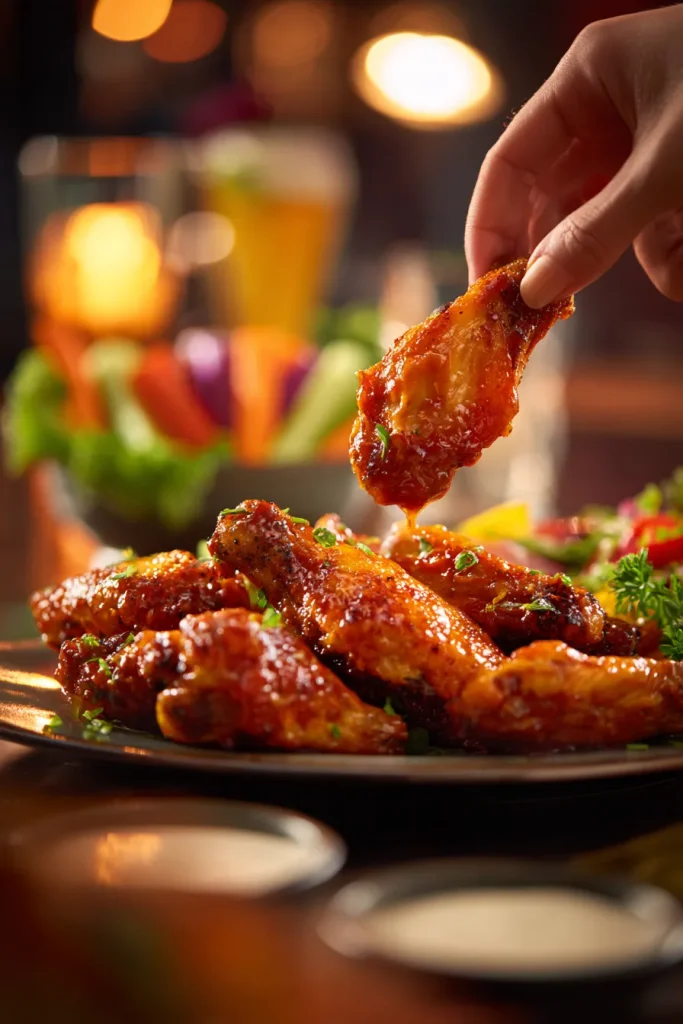
Celery and cucumber sticks, and a bowl of keto ranch dressing for dipping. For a full spread, put them out with air fryer jalapeño poppers, keto mozzarella sticks and keto deviled eggs.
Storage and Reheating
Fridge: 3 days in an airtight container. Store them unsauced if you can — sauced wings soften overnight and never fully come back.
Freezer: freeze cooked, unsauced wings in a single layer until solid, then bag them, up to 3 months. Reheat from frozen at 400°F for 15 to 20 minutes.
Reheating: 400°F oven or 375°F air fryer for 8 to 10 minutes, on a rack, then toss in fresh sauce. Not the microwave — it steams the skin and undoes everything.
Frequently Asked Questions
Why are my keto chicken wings soggy?
Water, in one of four places: the wings went in wet, the tray was covered during the cure, they were crowded so they steamed each other, or they sat in sauce too long before being eaten. Frozen wings are the most common cause of the first one, because they release liquid as they thaw and most recipes never mention it.
Can I taste the baking powder?
Not at a teaspoon per pound. You can taste baking soda, which is four times more alkaline and will make wings taste soapy and metallic — that is the mistake people are remembering when they say this trick does not work. Check the tub before you start, and buy an aluminium-free brand, since aluminium compounds carry their own tinny note.
Do I really need the overnight cure?
For frozen wings, it is the difference between good and outstanding, and I would not skip it. For fresh wings you can get away with the 45-minute room-temperature version. The cure is doing two separate jobs — drying the skin, and seasoning the meat all the way through rather than just on the surface.
Can I skip the low-temperature stage?
Yes — bake at 425°F for 45 to 50 minutes straight through. They will be good. The low stage renders more of the fat out from under the skin before the surface sets, and that is what takes them from crisp to shatteringly crisp, so you are trading half an hour for the top of the range.
How many carbs are in keto chicken wings?
1.3g net carbs per serving of seven to eight pieces, sauce included. Chicken itself has none — every carb here comes from the baking powder, the garlic powder and the hot sauce. Watch bottled wing sauces and barbecue rubs, which frequently carry sugar or maltodextrin and are where a wing recipe’s carbs actually come from.
More Keto Appetizers and Chicken Recipes
- Crispy Keto Chicken Nuggets — the same crisp-without-breadcrumbs problem, solved a different way at 1g carbs.
- Keto Buffalo Chicken Soup — for the leftover hot sauce, and it is a full meal.
- Buffalo Chicken Casserole — same flavours with a fork instead of your fingers.
- Keto Broccoli Cheese Bites — a crisp vegetable side that holds up next to wings.
- Keto Air Fryer Mushrooms — if the air fryer is already out and hot.
Recipe Card
Brush these with something better than a bottle. My keto bbq sauce has no sugar in it at all and goes on in the last five minutes, so the sweetener never scorches.
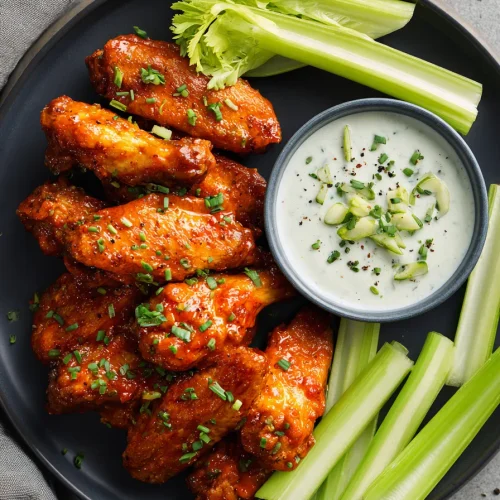
Keto Chicken Wings
Equipment
- Wire rack lightly oiled, or the skin welds to it
- Rimmed baking sheet lined with foil, never parchment
- Instant-read thermometer for the 175F check
Ingredients
For the Wings
- 3 lb chicken wings 1.4 kg party wings, already split with the tips removed
- 1 1/2 tsp fine sea salt 1/2 tsp per pound; double for Diamond Crystal kosher
- 1 tbsp aluminium-free baking powder 1 tsp per pound; never baking soda
- 1/2 tsp garlic powder
- 1/4 tsp black pepper
- 1 tsp avocado oil for wiping the rack; not olive oil spray
For the Buffalo Sauce
- 1/2 cup cayenne pepper hot sauce 120 ml; original, not buffalo wing sauce
- 5 tbsp unsalted butter 70 g, melted
- 1/2 tsp garlic powder
Instructions
The Day Before
- Thaw properly if frozen: thaw in the fridge on a tray for a full 24 hours, never on the counter. Pour off any liquid and pat every wing dry with paper towels, including the folds at the joint.
- Salt and cure uncovered: toss the dry wings with the salt only – no baking powder yet – and spread in a single layer on a rack over a tray. Refrigerate uncovered 8 to 24 hours. Previously frozen wings hold more water, so give them the longer end. The skin should end up matte and dry to the touch, not tacky.
The Day
- Coat and set up the pan: heat the oven to 250°F. Line a rimmed baking sheet with FOIL, not parchment, and set a rack over it wiped with the avocado oil. Toss the cured wings with the baking powder, garlic powder and pepper until evenly dusted, and lay them out in a single layer with space between them. Parchment is rated to about 420-450°F and will scorch and smoke over this bake.
- Render low: bake at 250°F for 30 minutes. Nothing will look like it is happening; the fat under the skin is melting and running off.
- Crisp hot: turn the oven up to 425°F and leave the wings inside while it climbs. Once at temperature give them 40 to 45 minutes more, and do not turn them. Take them to 175°F internal, not 165°F – a wing is mostly connective tissue and needs the higher temperature to stop being rubbery.
- Sauce immediately: whisk the hot sauce, melted butter and garlic powder in a large bowl. Tip the wings straight from the oven into it and toss. Serve within about 15 minutes – sauce is water, and the clock starts the moment they are coated.
Notes
Keep cooking